How to Set Up Automations
The Automation section in SubcontractorHub allows you to create time-saving workflows by triggering actions based on specific events or conditions. Whether it’s sending follow-up emails, updating project fields, or assigning tasks automatically, automation helps streamline your operations and reduce manual effort, keeping your team efficient and responsive.
Step 1: Navigate to “Manage Database” and click the “Database” option from the main menu.
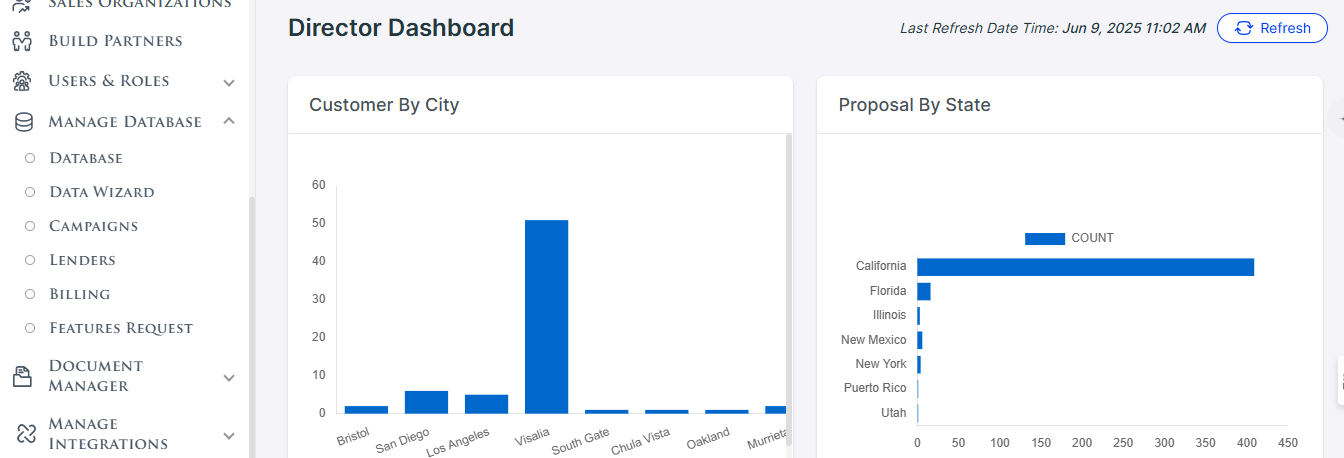
Step 2: Find the “Additional” option at the bottom of the list on the left and click “Automation”.
Step 3: Click the “Add New Automation” button to schedule a new automation.

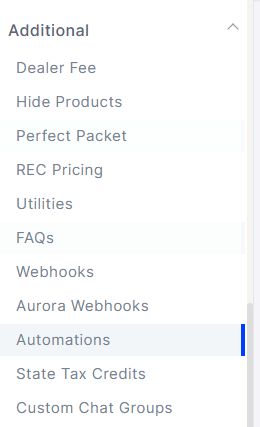
Step 4: Add the “Title” of your new automation.
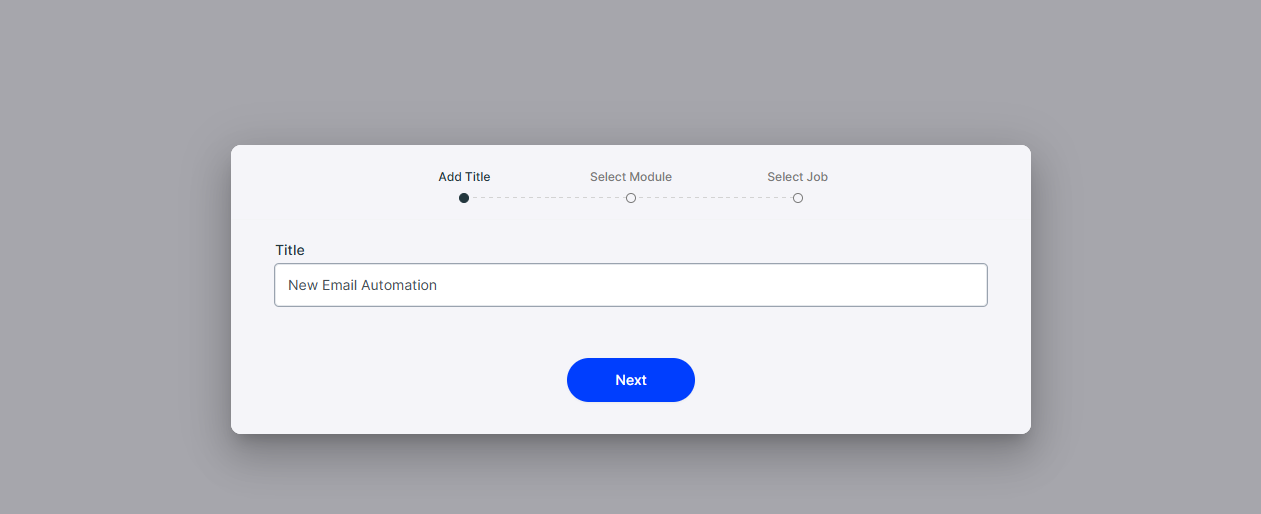
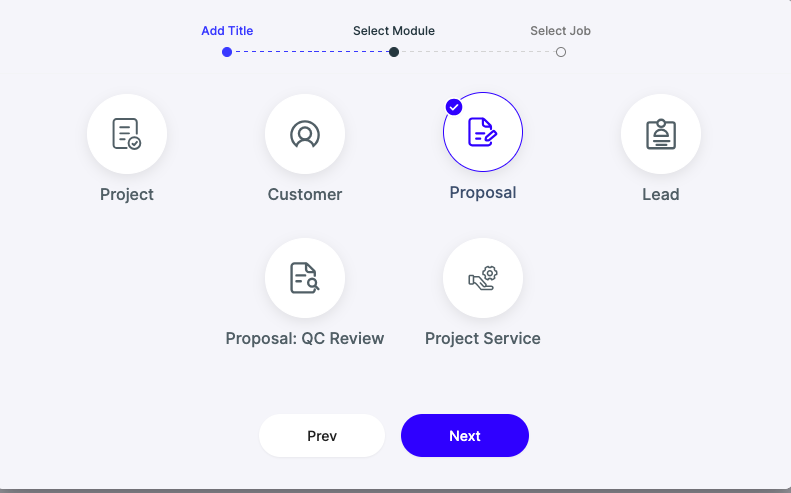
Step 5: Select the "module" of your automation and click “Next”.
Step 6: Select the “Job” and click “Start Now!”.
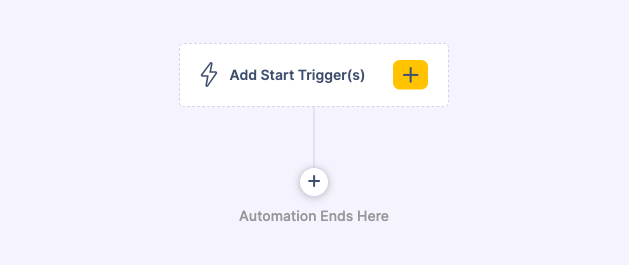
Step 7: Click “Add Start Trigger” to set triggers for your automation.
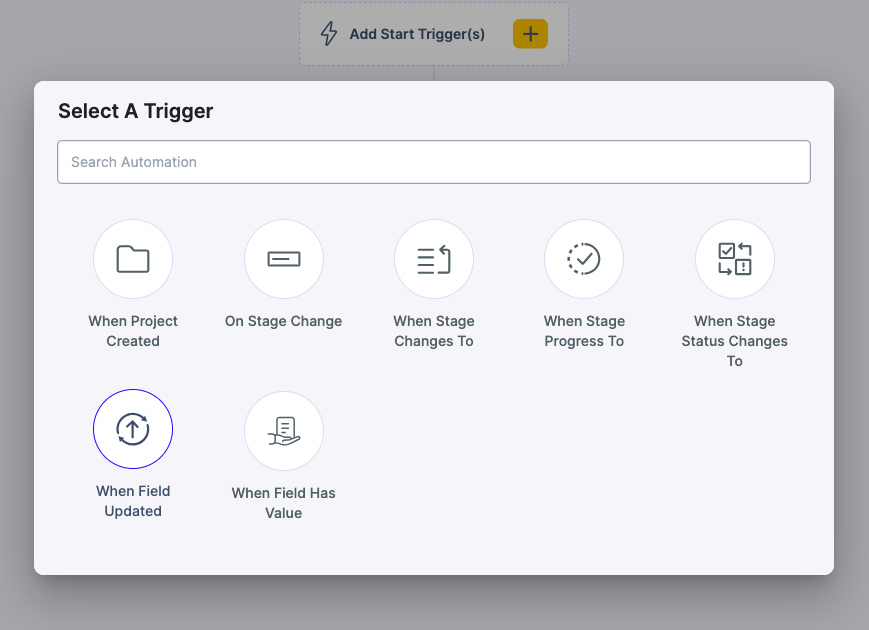
Step 8: Select the trigger for which you want to run the automation.
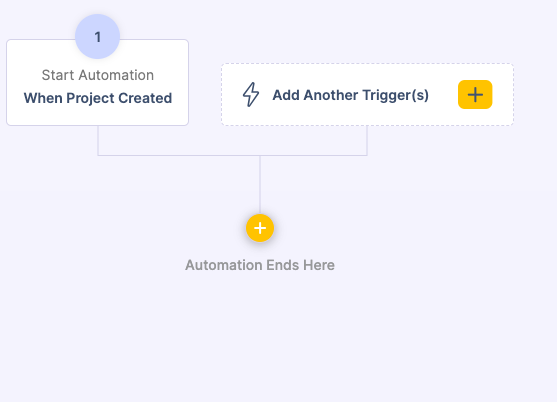
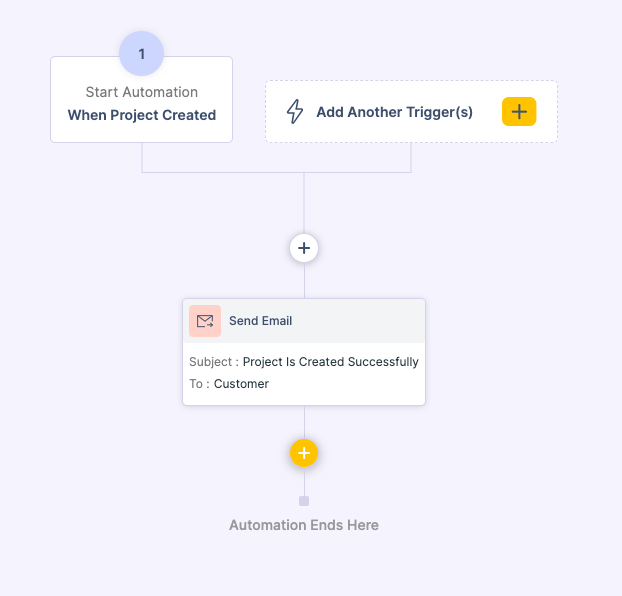
Step 9: Now, click the “+” icon to select actions.
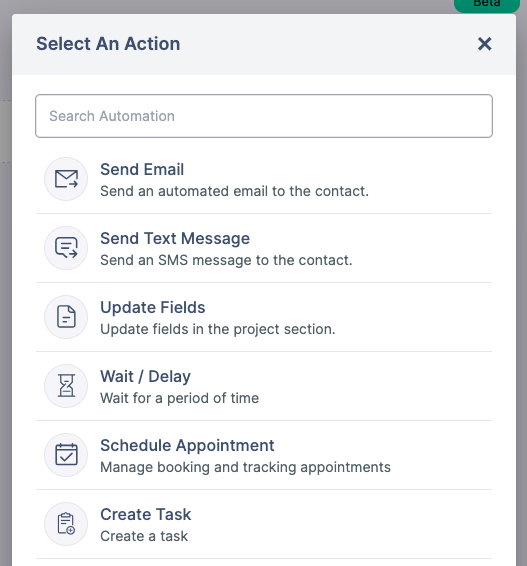
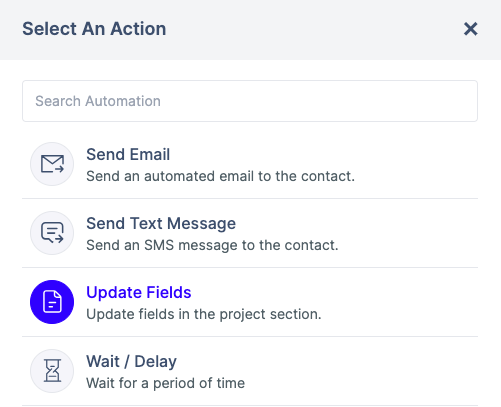
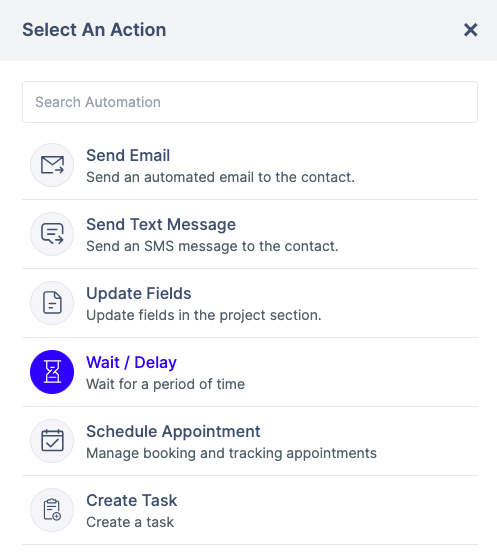
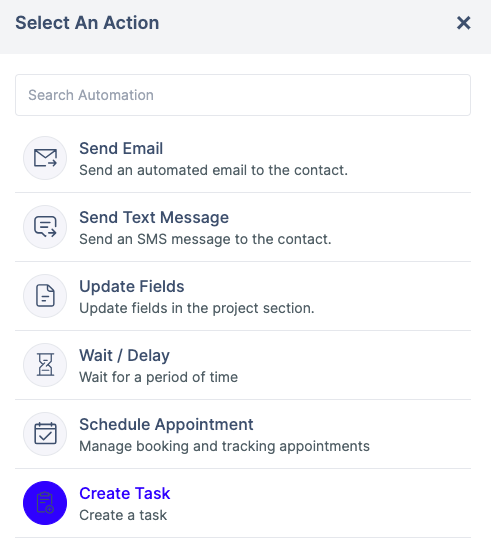
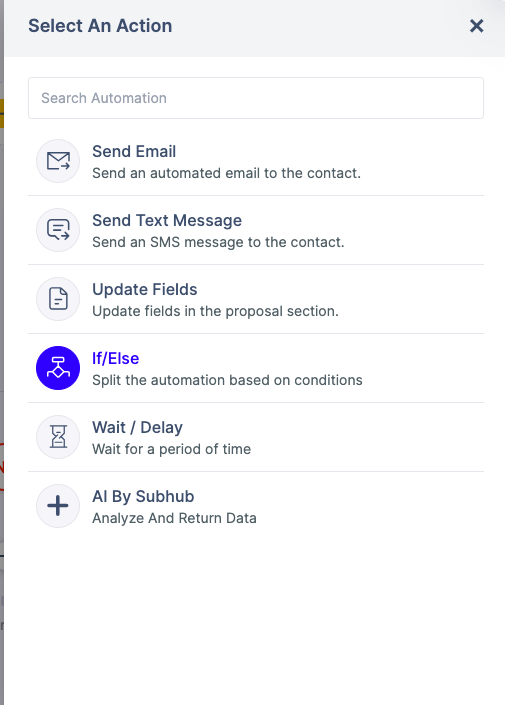
Step 10: From here, you can select different actions for your automation.
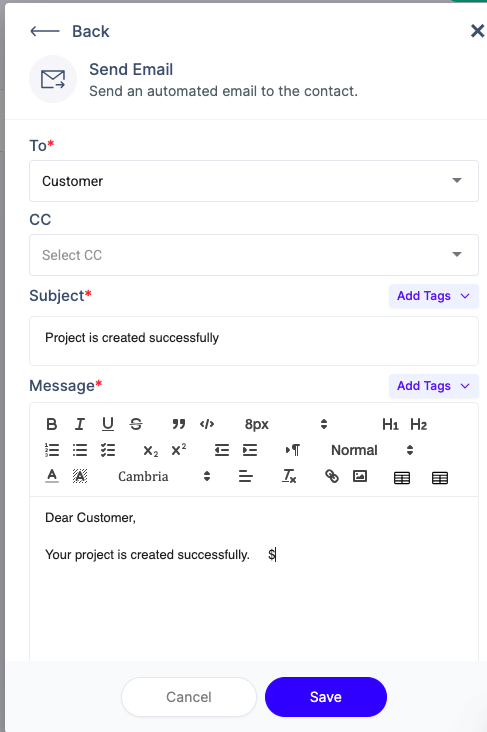
To automatically send an email to the contact when the automation is triggered, click “Send Email”.
Step 11: Select the receiver from the “To” dropdown and “CC” from the CC dropdown, enter the subject and message, and click “Save”.
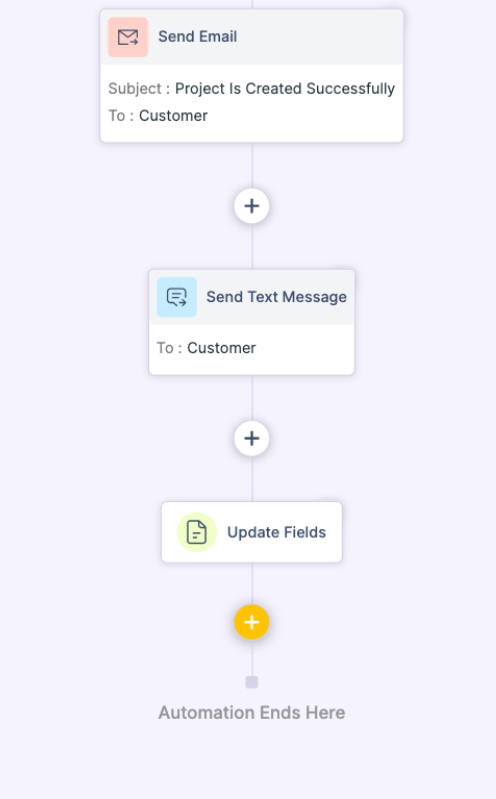
Step 12: Click the “+” icon to set another action.
Step 13: Click “Send Text Message”.

Step 14: Select the receiver from the “To” dropdown and type the message.

Step 15: Click the “+” icon to set another action.

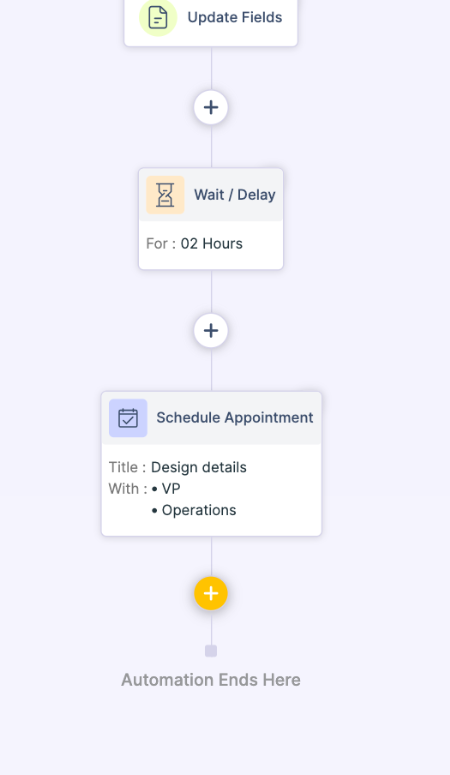
Step 16: Click “Update Fields” to fill out specific fields in the associated project automatically.
Step 17: Set the “Field” and “Field Stages” and click “Save”.

Step 18: Click the “+” icon to set another action.
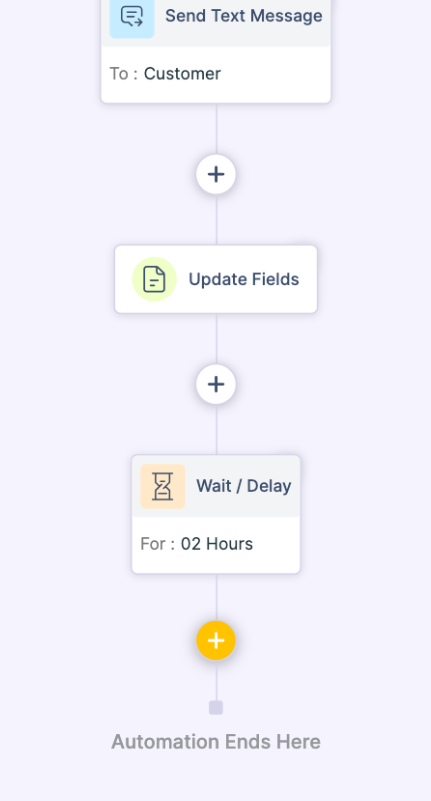
How to set time intervals between actions for automations
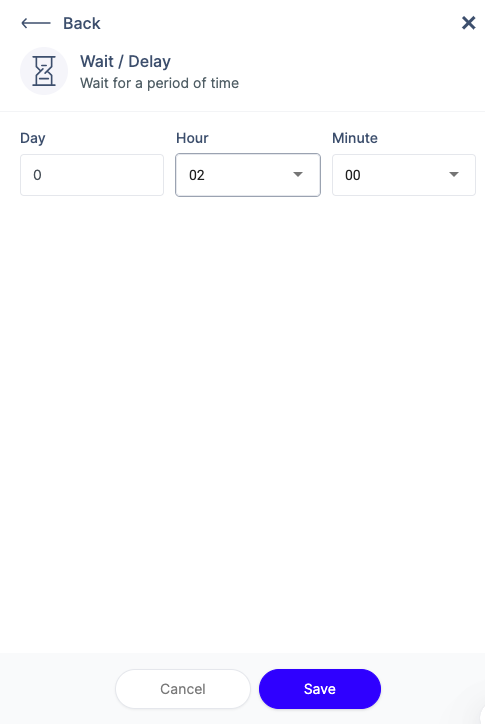
Step 19: Click “Wait/Delay” to specify the duration of the automation’s waiting period.
Step 20: Enter the waiting period duration and click “Save”.
Step 21: Click the “+” icon to set another action.
Step 22: You can schedule and manage an appointment here.

Step 23: To schedule the appointment, select the “Appointment Type”, add “Title”, Select “Attendees” and “Tags”, and add the “Description”.
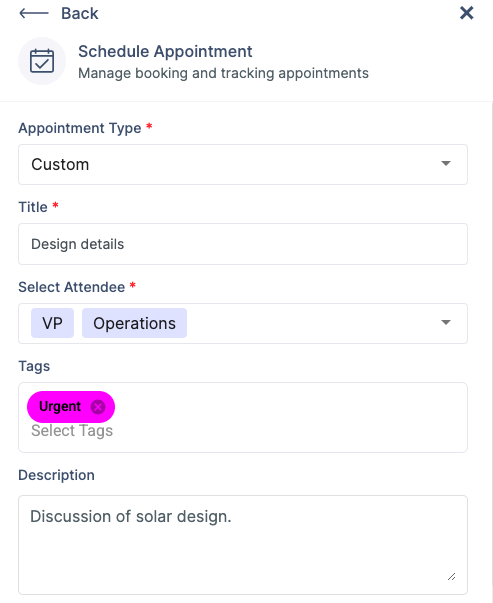
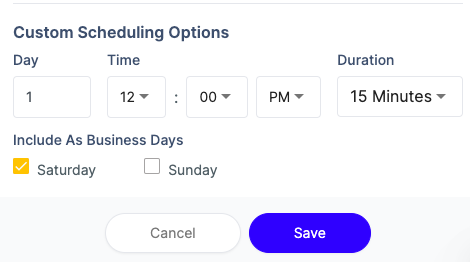
Step 24: Set the custom scheduling options such as the date, time, and duration of the appointment. Click “Save”.
Note: By default, only business days (Monday-Friday) are selected for scheduling purposes. If you want to include the weekends (Saturday and/or Sunday), click the checkboxes of the respective days.
Step 25: Click the “+” icon to set another action.
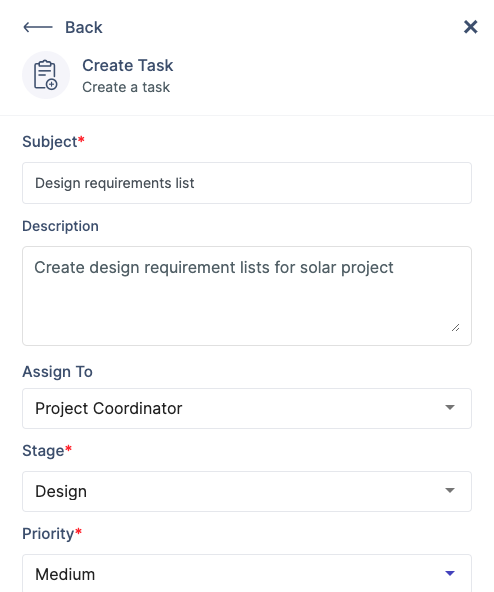
Step 26: Click “Create Task” to generate a task linked to this project.
Step 27: Enter the “Subject” and “Description”, and select "Assign To”, “Stage” and “Priority”.
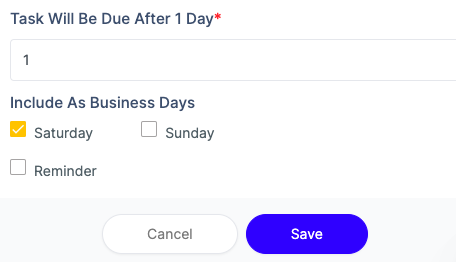
Step 28: Set the number of days to set the task and click “Save”.
Note: By default, only business days (Monday-Friday) are selected for scheduling purposes. If you want to include the weekends (Saturday and/or Sunday), click the checkboxes of the respective days.
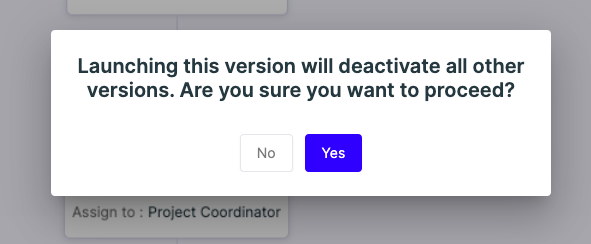
Step 29: Once the automation is set, click “Launch”.

Step 30: Click “Yes”.
Note: If you are creating an automation for any module, you can split the automation based on If/Else conditions.
Step 1: Click “If/Else”.
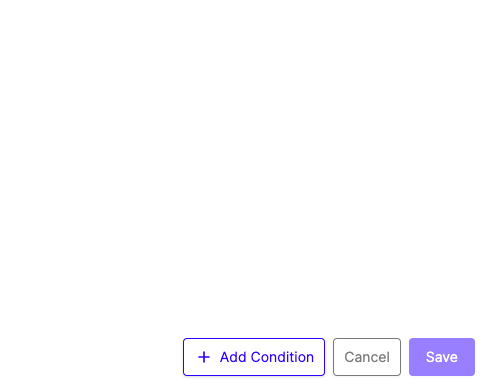
Step 2: Click “Add Condition” button.
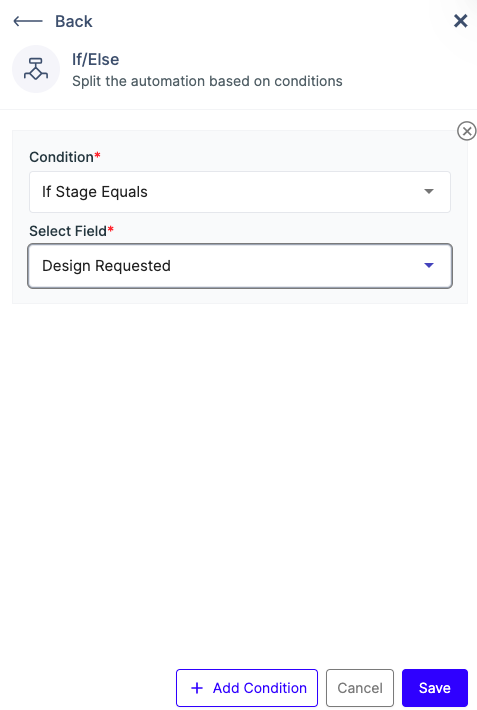
Step 3: Select the “Condition” and “Field”, and click “Save”.
Step 4: Your automation is now split based on Conditions.
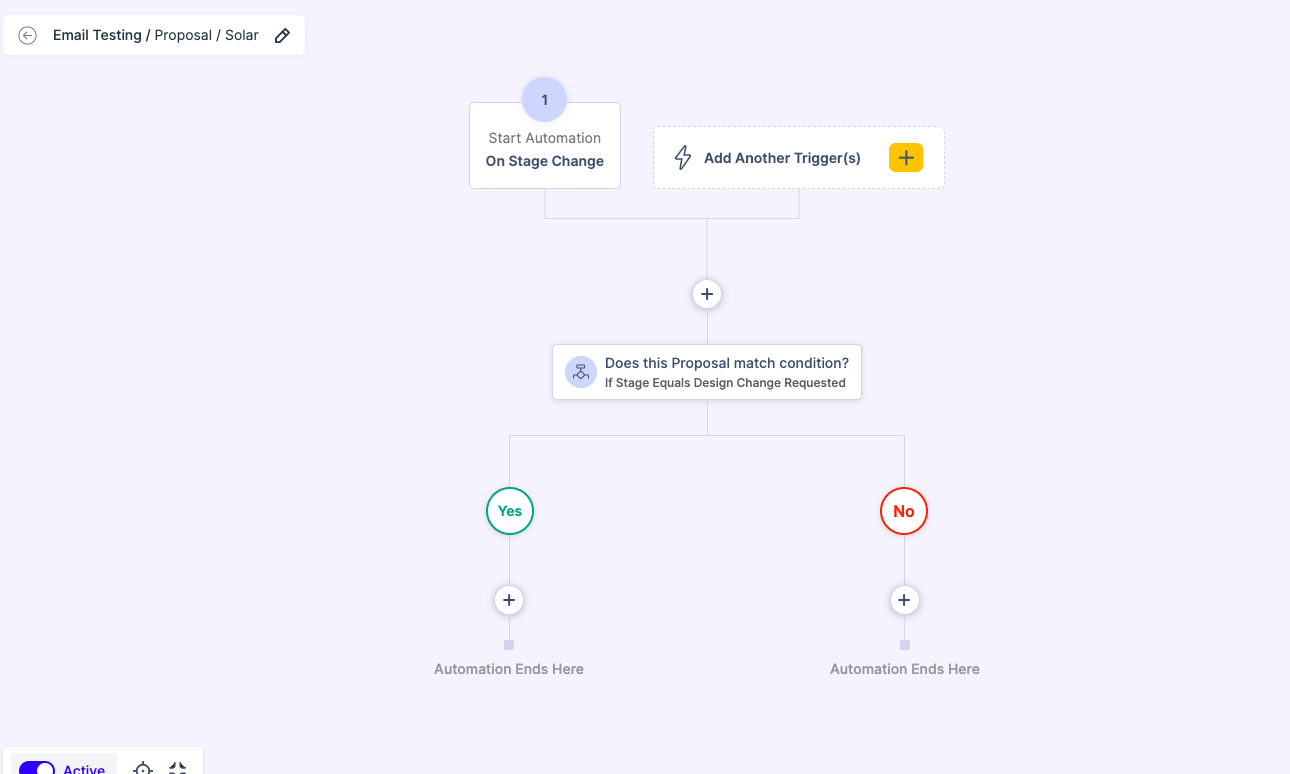
Note: You can set actions for both “Yes” and “No”conditions.