How to Enable the Schedule Appointment for Site Survey Setting and How to Assign Users for Site Survey Appointment?
Streamline site survey scheduling by enabling a dedicated appointment type specifically for surveys. Once activated, teams can assign users to manage these appointments, and customers receive a booking link to select their preferred time. It helps reduce back-and-forth coordination and ensures a smoother scheduling process directly from the project workflow.
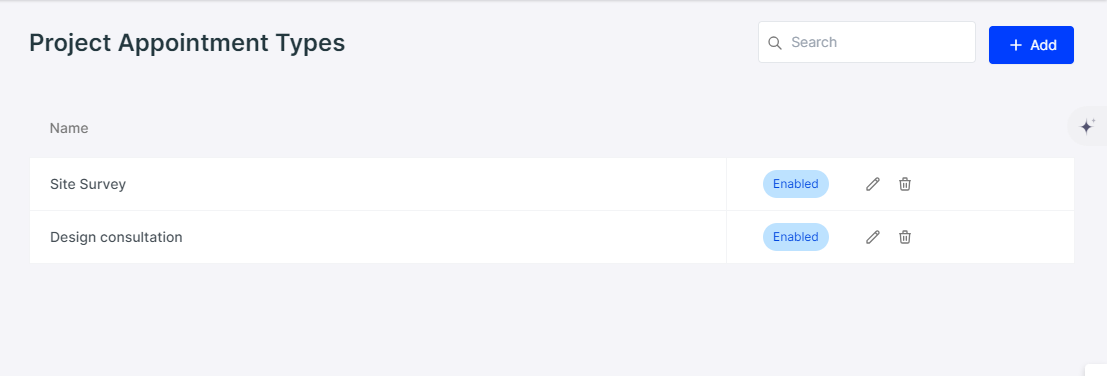
Note: You need to create an appointment type for a site survey. You can learn more about it in the article “How to Set Up the Appointment Module.” or ask the admin to add it to your database
Step 1: Click on the “Hi, Username” in the top right corner and select “Settings”.

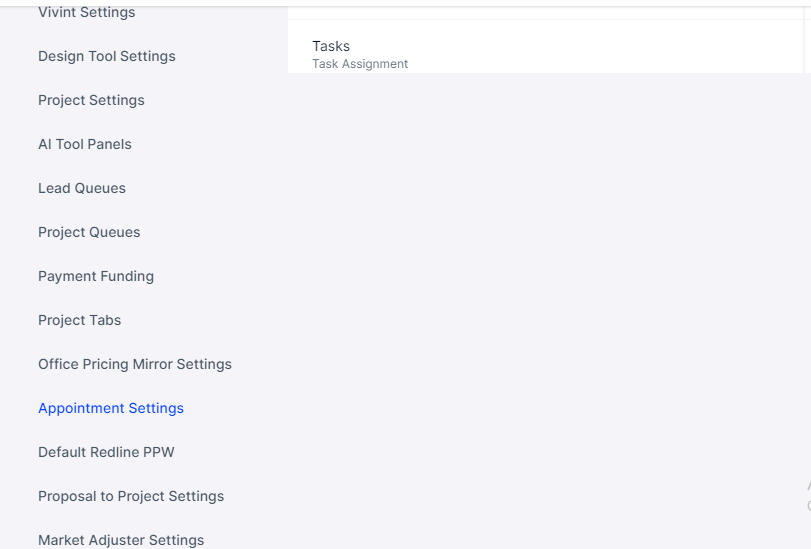
Step 2: Scroll down your settings and find “Appointment Settings”.
Step 3: Click on the “Edit” button on the far right.
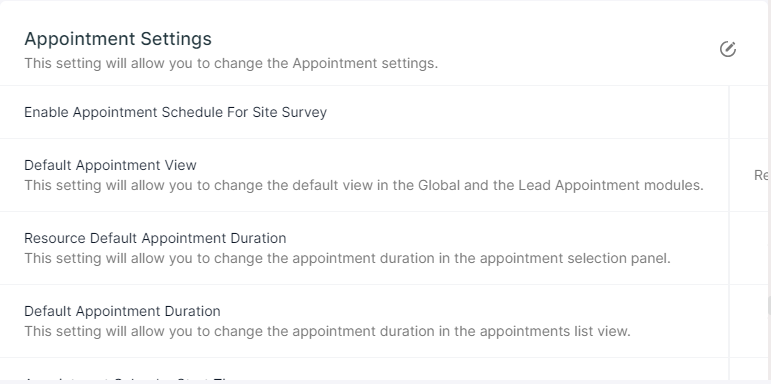
Step 4: Turn on the toggle next to “Enable Appointment Schedule For Site Survey”.

Step 5: Select “Site Survey” from the drop-down menu next to the “Appointment Type Schedule For Site Survey” option.

Step 6: Click “Update”.

How to assign a user for the Site Survey Appointment with the customer?
Step 1: Locate “Project” from the main menu and select your project.
Step 2: On the very top of the project page, you can find an option called “More +”.

Step 3: Select “Schedule Site Survey”.

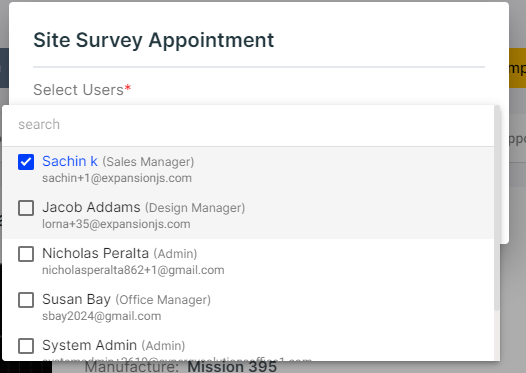
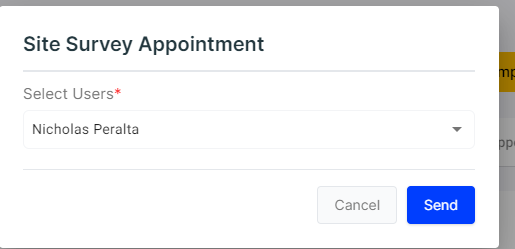
Step 4: Select the user for a site survey appointment.
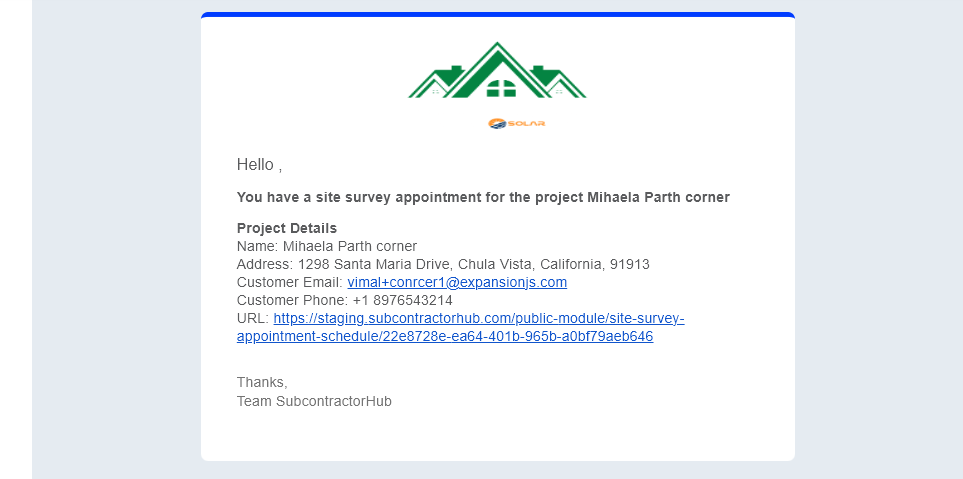
Step 5: Click “Send”.
Step 6: An email will sent with the scheduled site survey link.

Step 7: The customer can use the link to book the appointment for their site survey.