How to Enable and Manage Dynamic Columns for Projects?
SubcontractorHub allows admins to customize the visibility and order of columns on the Projects page to match their team’s workflow. With dynamic columns, you can prioritize the information that matters most and streamline how project data is viewed. Follow the steps below to enable and manage project table columns.
Step 1: Click on your organization’s profile in the top right corner and select “Settings”.

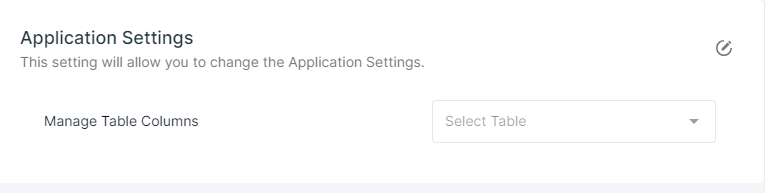
Step 2: Scroll down to find “Application Settings”.

Step 3: Click on the “Edit” button in the far right corner and click on the “Select Table” option next to the Manage Table Column to find the drop-down menu.
.
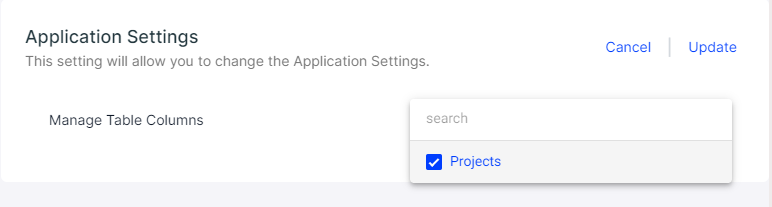
Step 4: Select “Projects” from the drop-down menu and click ”Update”.
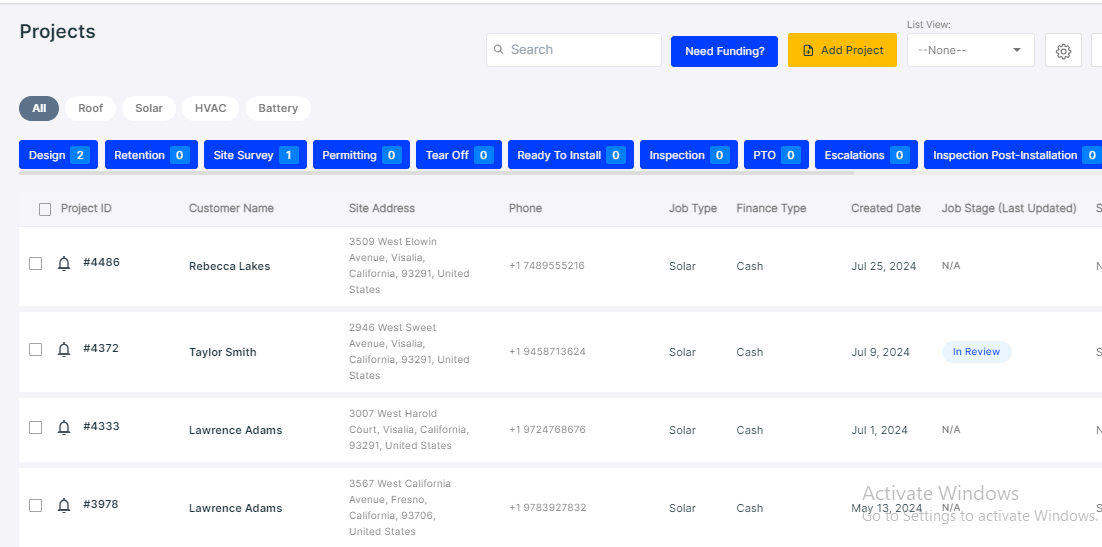
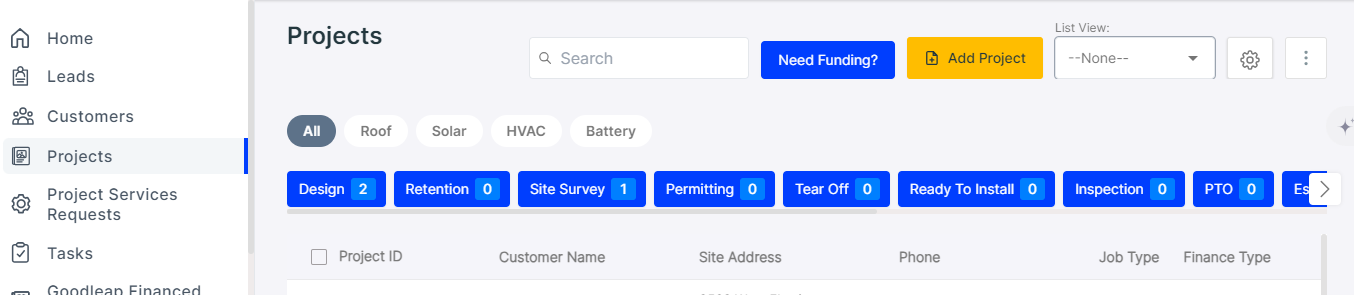
Step 5: Navigate back to the home page and click on “Projects” from the main menu on the left.

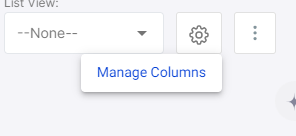
Step 6: You can now find a “Settings” button next to the “List View” option in the top right corner of the project page.
Note: The settings button will only be visible to admins.
Step 7: Click the ”Settings” button and select “Manage Columns”.
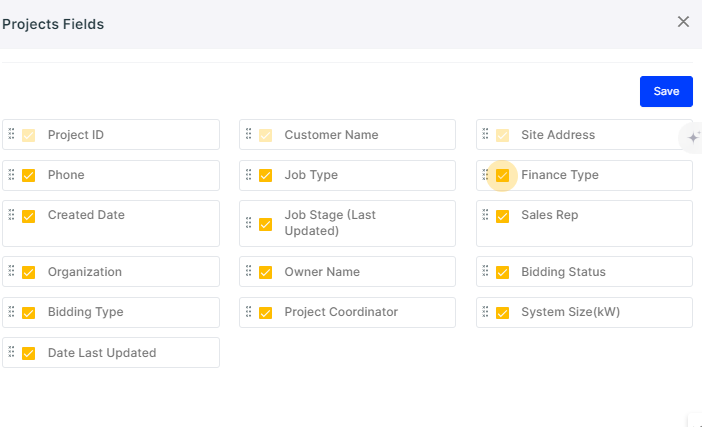
Step 8: A list of all available Project fields shown on the project page will be showcased to you.
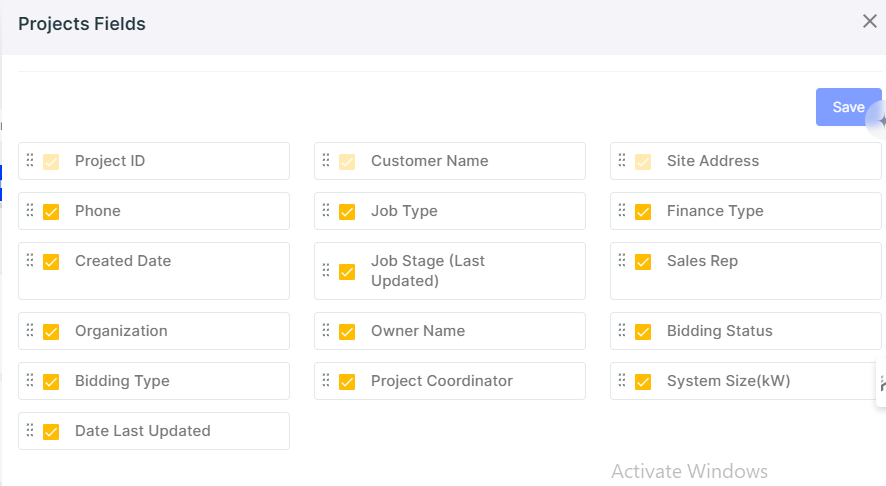
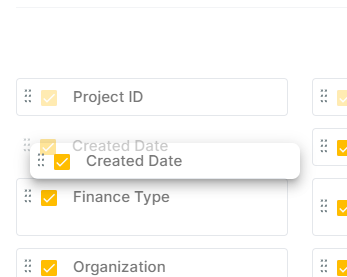
Step 9: You can drag and drop the fields to arrange the project columns in your preferred order.
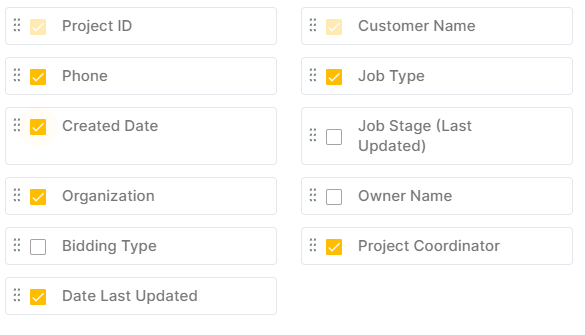
Step 10: You can also select or deselect the columns to display on the projects list page.
Step 11: After updating your preferred column order, click on “Save”.
Step 12: Your preferred columns will now be displayed according to the preferences and order set in the Manage Columns settings.