How to Integrate Scanifly
Scanifly is a powerful solar design tool that uses cutting-edge technology to quickly and precisely position panels on a roof layout, taking into consideration system size, production estimates, savings, and offset calculations. Scanifly ensures an optimal solar design that is both accurate and efficient.
Follow the steps below to integrate the Scanifly solar design tool with SubcontractorHub.
Step 1: Locate "Manage Integrations" from the main menu and click "Integrations".

Step 2: Click on “Design Tool” on the left side.
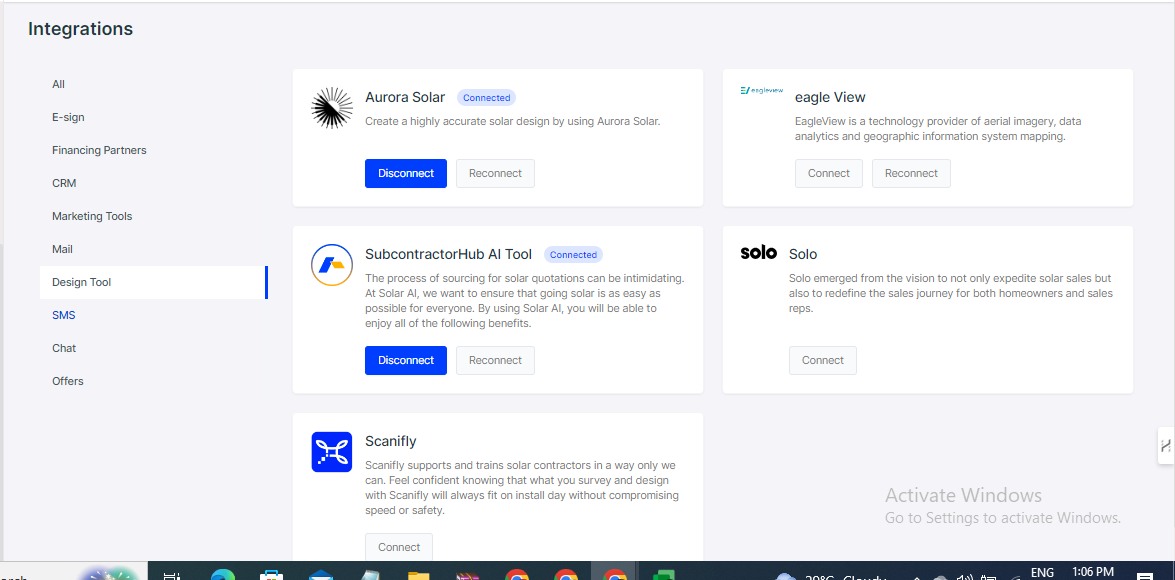
Step 3: Click “Connect” on the Scanifly card.

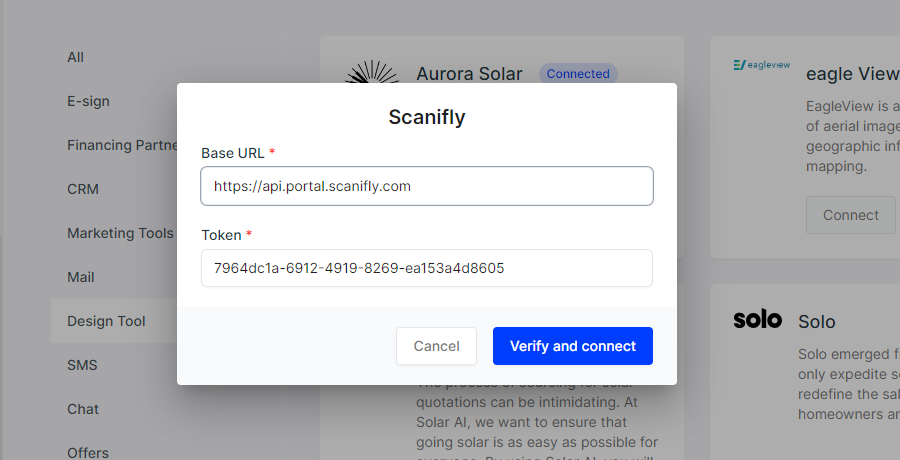
Step 4: Add the Base URL and Token.
Click “Verify and Connect”.
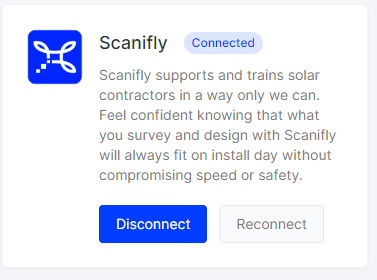
Step 5: After successfully integrating Scanifly, the integration card will look like this. The integration can be disconnected and reconnected from here with the corresponding buttons.
How to Use Scanifly in SubcontractorHub
Step 1: Create a customer and add details about the customer.

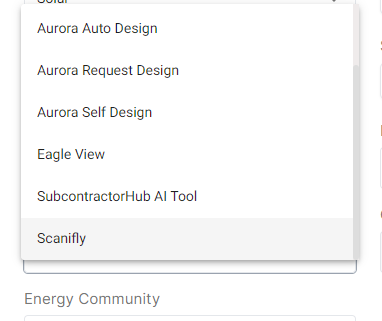
Step 2: Select the drop-down option under “Select Design Tool”.

Step 3: Select “Scanifly” from the drop-down menu.
Step 4: Click “Create Customer”.

Note: Users can now directly add their Scanifly Project ID and choose between Request Design or Self Design when creating a customer.

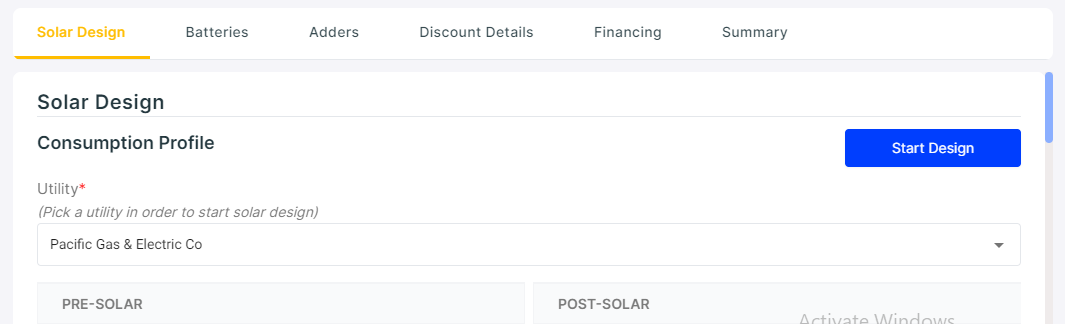
Step 5: After creating the customer, add details in the consumption profile and click “Start Design".
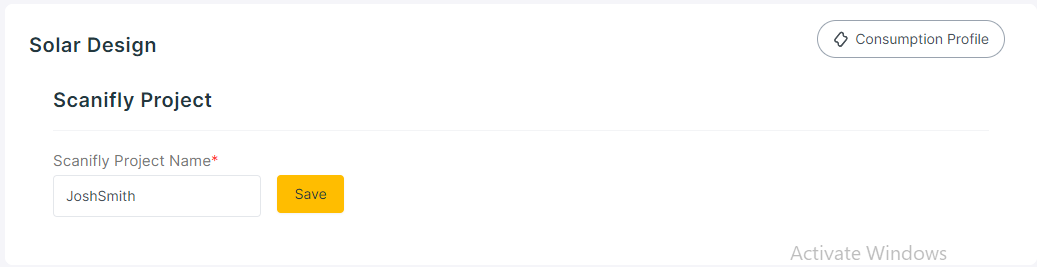
Step 6: Confirm the “Scanifly Project Name” and click “Save”.
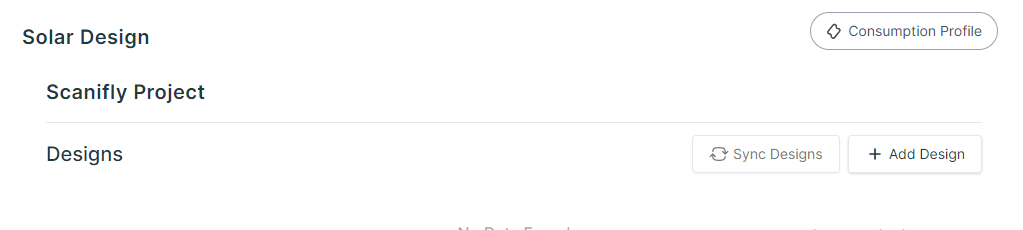
Step 7: Click “Add Design”.
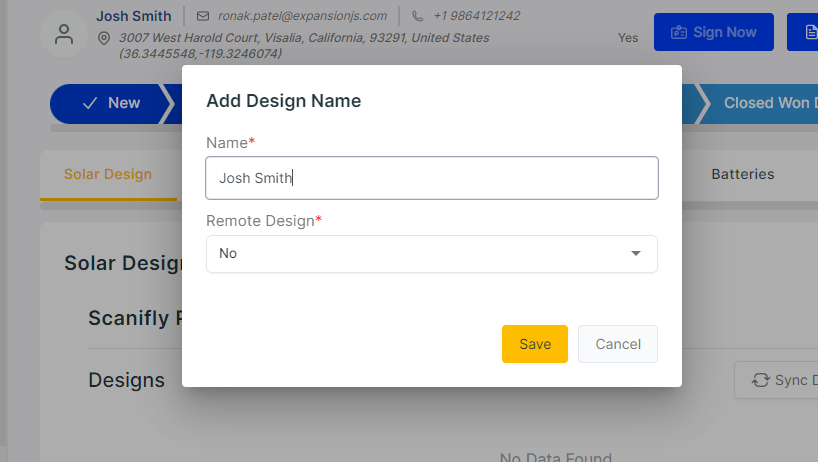
Step 9: Add name and click “Save”.
Step 10: Click on “Design with Scanifly”.
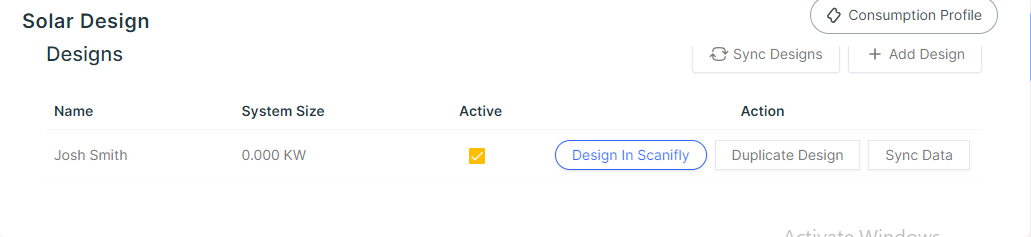
Step 11: Click “Sync Design” to sync your Scanifly design onto SubcontractorHub.
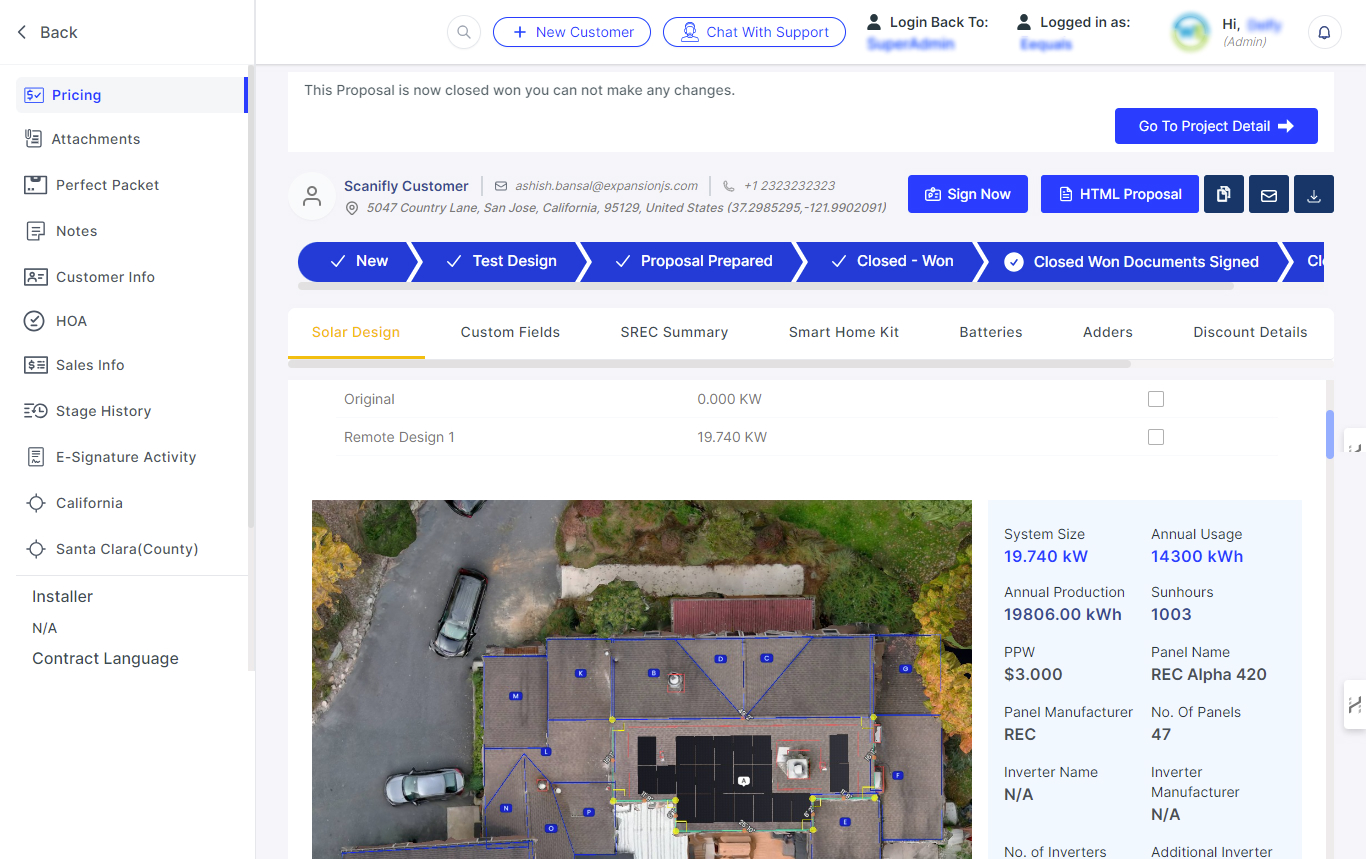
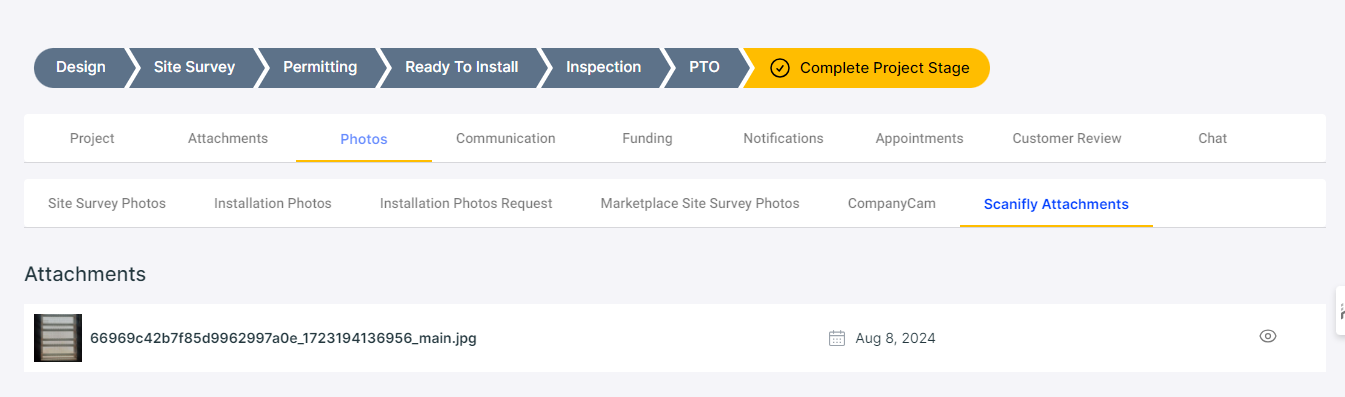
Note: The Scanifly attachments can be found in the project under "Scanifly Attachments".