How to Add Inverters to Your Database?
Accurate inverter configuration in SubcontractorHub is essential for accurate proposal creation, project management and finance compatibility. This guide details how to add inverters from the master list or create new entries, define state-specific availability, and assign eligible finance partners to ensure system logic aligns with backend workflows.
Step 1: Locate "Manage Database" and click “Database” tab on the left-hand side.

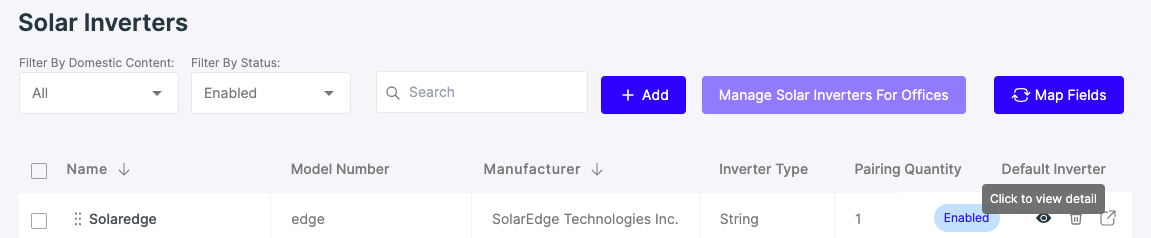
Step 2: Select “Solar System” and click on “Inverters”.

Step 3: Click “Add”.

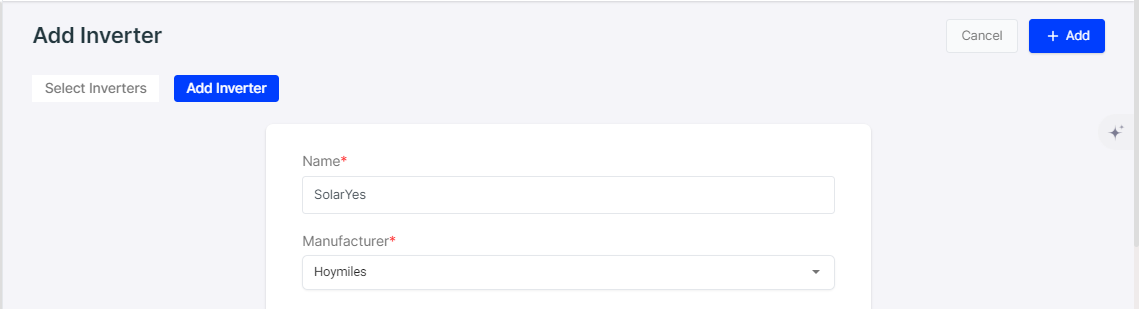
Step 4: You can select from the existing inverter list or add a new inverter by clicking on “Add Inverter”.
Note: When selecting an inverter from the Master list or an existing AVL list, the state selection cannot be changed

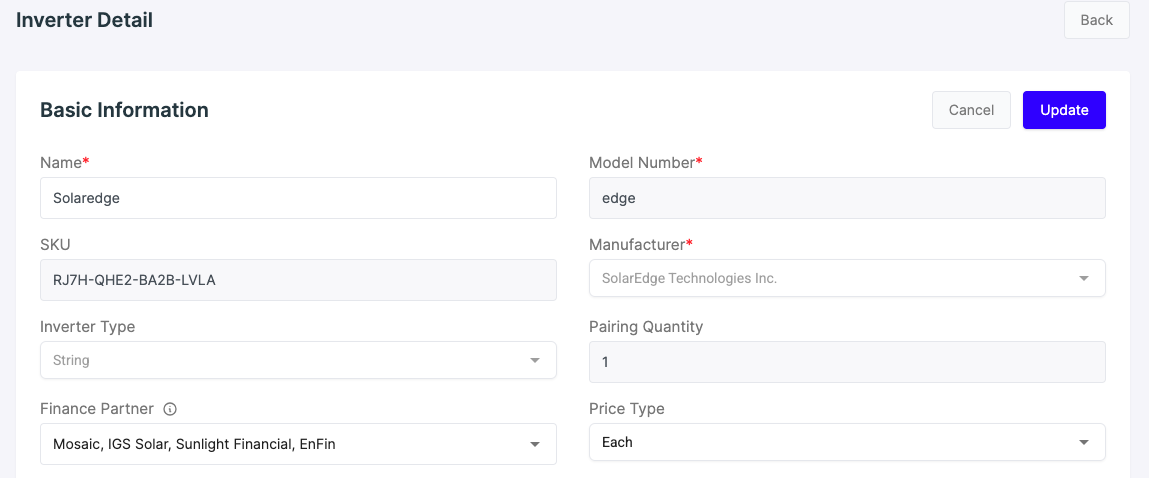
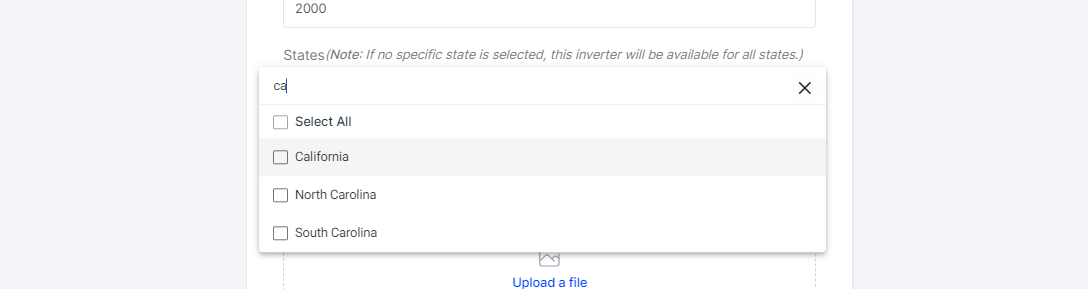
Step 5: Input the details of the inverter as shown in the image below. You can also upload the images of the inverter.

Note: You can select the inverter to be added for a specific state. If no state is selected, the inverter will be listed for all states in your proposal. You can also edit the state selection for existing inverters.
Step 6: Click “Add”.
Note: To enable the inverter for a specific finance partner, make sure you select the desired finance partner for the inverter. If no matching finance partner is assigned, the inverter will work for all finance partners.
To enable inverter financing for select finance partners, follow the below steps:
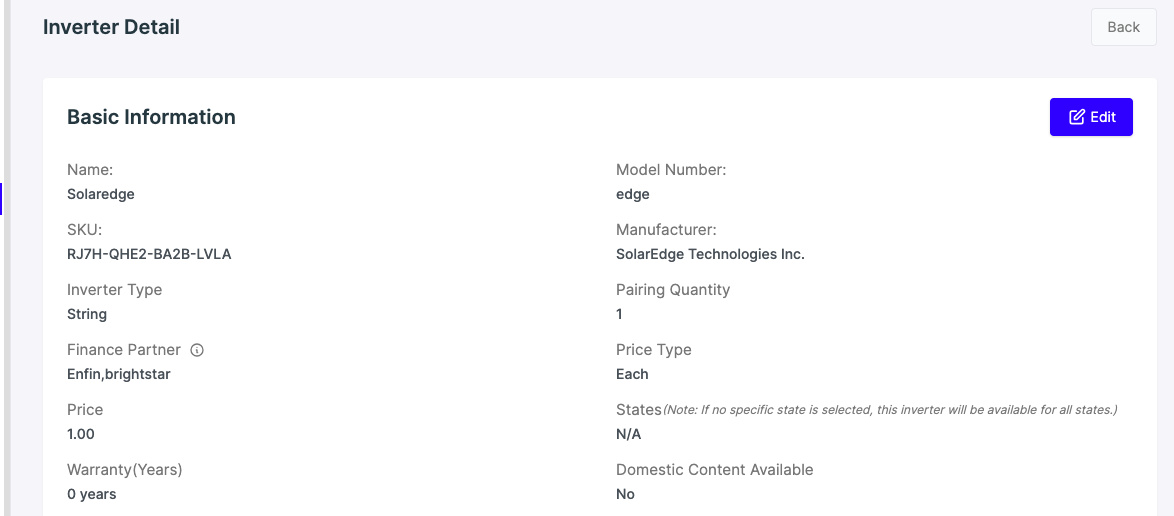
Step 1: Click “View Details” on the specific inverter.
Step 2: Click “Edit”.
Step 3: Scroll down to “Finance Partner” and select the desired finance partners from the dropdown.
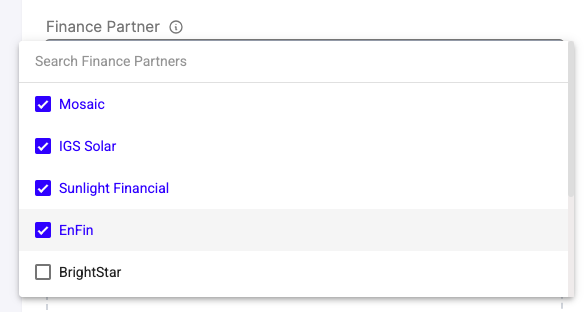
Step 4: Click “Update”.