How to Enable and Set the “Required Document to Convert a Proposal to a Project” Setting?
To ensure that every proposal includes the necessary documentation before conversion to a project, you can configure required documents within your account settings.
Follow the steps below to add and enforce mandatory document uploads for converting a proposal to a project.
Step 1: Click on your organization’s profile in the top right corner and select "Settings".

Step 2: In the left-hand menu, select “Proposal to Project Settings.”

Step 3: In the “Required docs to convert proposal into project” section, click the edit icon in the top-right corner of the box.

Step 4: Add the name of the document and click “Add” next to it.
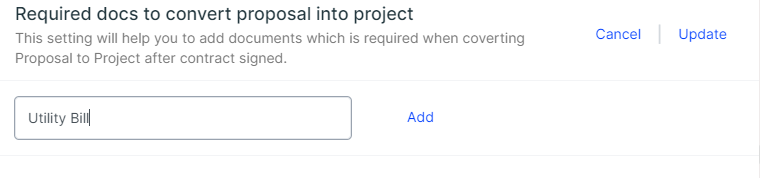
Step 5: Once you have added all necessary documents, click “Update” to save your settings.

Note: The required documents must be uploaded in the attachment section of the proposal. The proposal cannot move forward unless the mandatory documents set in the settings are uploaded.
