How to Set Up and Use SubHub Sign
SubHub Sign is an e-sign integration which allows organizations to easily create custom document templates, send out contracts online and sign them digitally. While other e-sign integrations require dedicated time and resources, we have ensured that organizations can create, share and sign documents from one place.
To get started with SubHub Sign, currently in beta, request a SubHub Sign token from your account manager. Follow the steps below to integrate and set up SubHub Sign.
Step 1: Locate "Manage Integrations" and click the “Integrations” tab from the main menu.

Step 2: Click the “E-sign” tab.

Step 3: Locate the SubHub Sign integration card and click “Connect”.

Step 4: Input your organization’s token and click “Verify and connect”.

Note: To integrate SubHub Sign with your organization, you must first obtain a SubHub Sign token. This token is unique to your account and can only be provided by your account manager. If you are unable to locate your token or haven't received one yet, contact your account manager or SubcontractorHub support to request access.
Step 5: After successfully integrating SubHub Sign, the integration card will look like this. The integration can be disconnected and reconnected from here with the corresponding buttons.

Step 6: From the main menu, click the Document Manager drop-down menu and select “SubHub Templates".

Step 7: To add a new template, click “+ Add”.

Step 8: To set up your e-signature template, fill up the following fields:
- Template Name: Internal name for the template (e.g., “California Proposal Contract”).
- Email Subject & Content: This is the email that will be sent to recipients along with the contract. Make sure the subject line is relevant, and the message body is clear.
- Module Type: Choose whether the template is linked to Proposals or a Projects.
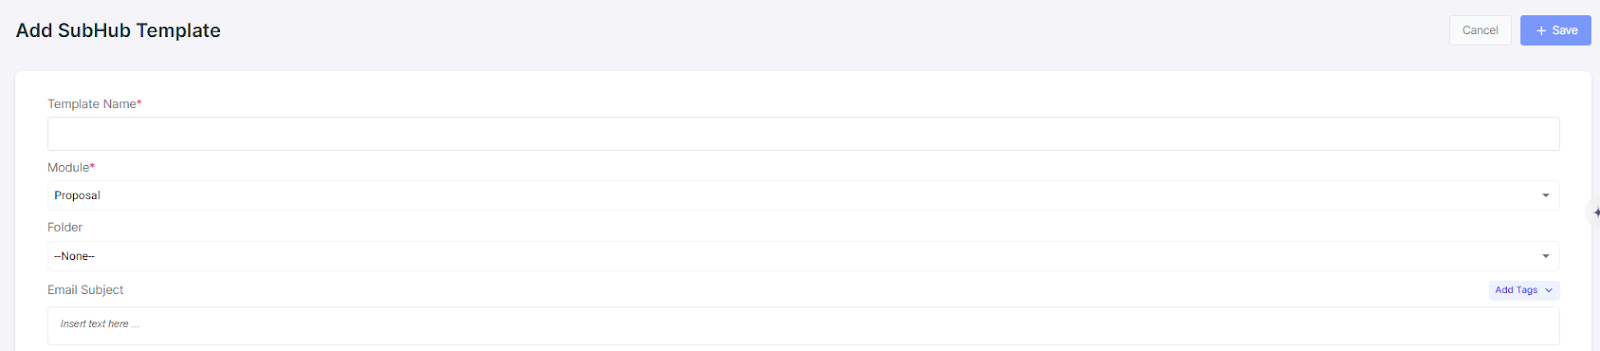
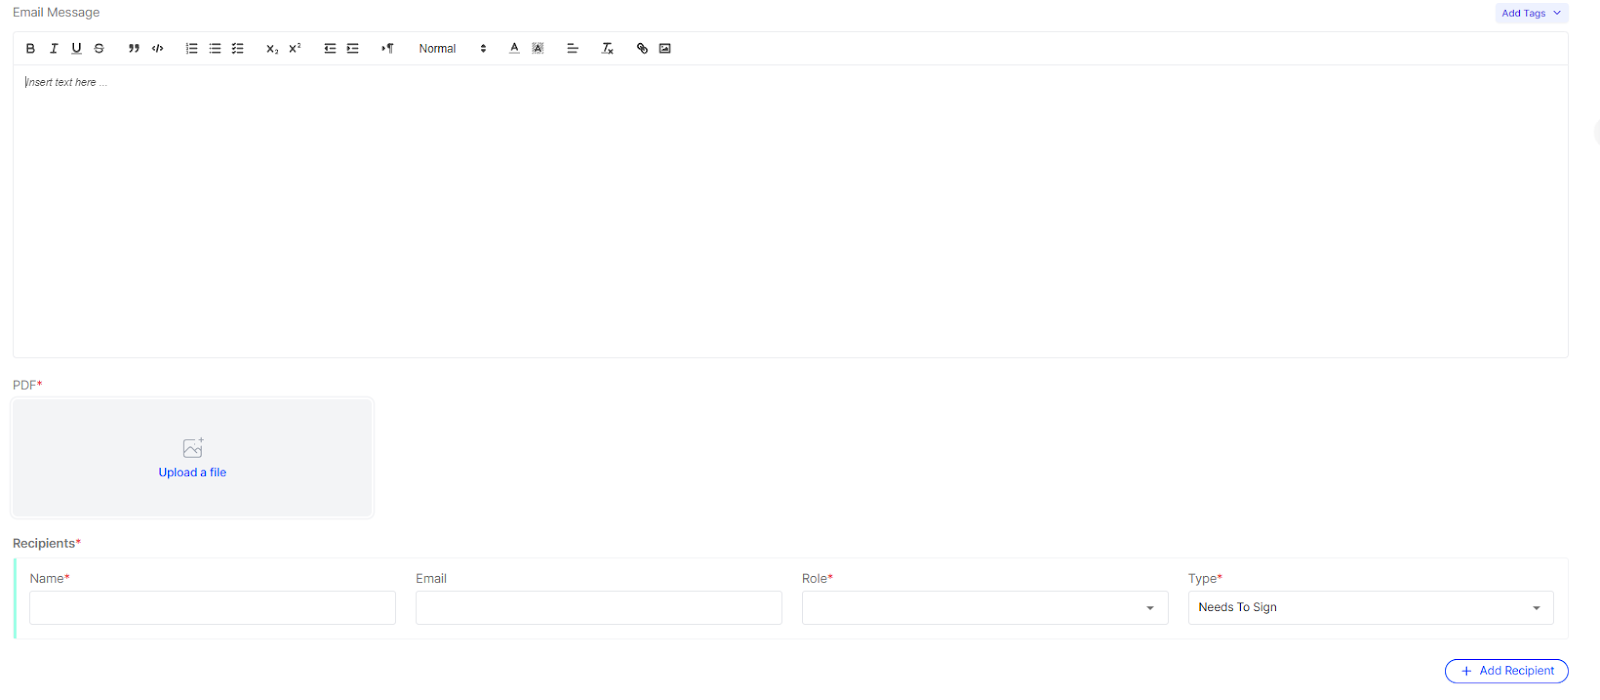
- Upload PDF: Upload the finalized contract document (in PDF format).
- Add Recipients: Specify who needs to sign the document (e.g., homeowner, sales rep). You will assign fields to these roles in the next step.
Click “+ Save” after completing these fields.
Step 9: Click the icon on the far right to map your document’s fields.

Step 10: Click and drag fields to add them. Fields include name, email, initial, signature, date signed and text, number, checkbox and attachment fields. To switch between recipients, click the drop-down menu on the left-hand side.

Step 11: To format text fields, select your text field, e.g. “Name”, and click “Formatting”.

Step 12: Font style, size and color can be adjusted using the corresponding dropdowns. To change the text colour, click the font color button.

Step 13: Select the colour from the color picker. You will see the text field change to the selected colour, as shown in the example below.

Step 14: To change the font style of the text field, open the “Font Style” dropdown and select your preferred font type, for example, Proxima Nova.

Step 15: The text field will change to your selected font style as shown in the example below. Your text field format will reflect within the document when signing with SubHub Sign as well as the downloadable PDF after completion.

Step 16: To add an associated field to a text field, place the text field upon the document and then open the “Associated Fields” dropdown.

Step 17: Select an associated field from the list provided. Each associated field is labelled and described briefly. Whichever value you select will autofill during the document signing process.

Step 18: When all the fields are mapped, click "Save" or "Save And Close" to continue.

Step 19: To clone a template, click the copy icon on the far right-hand side.

Step 20: Click “Yes” to continue. The cloned version of the template will appear on the SubHub template list. Remember to map the template’s fields before continuing.

Step 21: To send a document directly from the templates tab instead of a proposal, click “Use Template To Send Envelope”.

Step 22: Select a template from the dropdown menu and click “Create”.

Step 23: Input the recipient details, and select the recipient’s role from the “Role” dropdown.

Step 24: Click “Send”. The document will be sent to the recipient’s email address.

Note: In the “SubHub Sign Envelopes” list, you can find three action buttons. Use these buttons to preview the contract, view the signed contract and download the completion certificate.

How to Add a SubHub Sign Template to Document Templates?
Once a template is created, you can add it to your Document Templates library in the database. This allows you to easily reuse the template, keeping e-signature workflows aligned. Here's how you can add SubHub Sign templates to your database.
Step 1: From the main menu, click "Manage Database" and go to “Database”.

Step 2: From the “Documents” module, click “Document Templates”.

Step 3: Click “+ Add”.

Step 4: Input the template details. If the document is a project or change order document, mark the corresponding checkbox. In the image below, “Is Project Doc” has been selected. Next, click “Save”.

Signing Contracts With SubHub Sign
Once your document template is set up, you can begin signing contracts.
Step 1: From your customer’s proposal, click “E-sign” located in the proposal header.

Step 2: Fill out the perfect packet checklist, then click “Next”.

Step 3: On the right-hand side, click “Sign Via SubHub Sign” to open the contract in the next tab and sign. Alternatively, click “Send Via SubHub Sign” to send the contract to the recipients via email.

Note: The information of the signing parties can be previewed in this window to ensure that the document fields are mapped correctly and that the data is correct.

Step 4: When signing via SubHub Sign, click “Open” to open the document in the next tab, or click to Copy the URL. If sending via SubHub Sign, the same document will be sent to the first signer’s email address, where they can continue the process.

Step 5: Click “Start” to begin the signing process.

Step 6: When signing or initialing, select a style or draw your own, then click “Adopt And Sign”.

Step 7: When finished, click “Submit”.

Step 8: After clicking on the Submit button, the first recipient of the contract can choose to send the contracts either as a combined document or as separate files. Select your choice and click “Submit”.

Step 9: The document will automatically send to the next recipient via email. Simply click “Review & Sign Document” to continue.

Step 10: After signing, click “Submit”.

Step 11: To keep track of your progress, go to the “E-sign Activity” section of the proposal.

Step 12: Once all recipients sign the document, they will receive a notification via email and can download the attached copy of the contract.

Step 13: You can download the attached completion certificate from the email.

Organizing SubHub Templates Into Folders
Users can organize their SubHub templates into folders with the “SubHub Folders” tab. Users can assign a new subhub template to a folder, and can also edit existing templates to add them to folders. Follow the steps below to use this feature.
Step 1: From the main menu, go to “SubHub Folders”.

Step 2: To add a new folder, click “+ Add”.

Step 3: Input the name of the folder and click "Save".

Step 4: From the main menu, open the Document Manager dropdown and select “SubHub Templates”.
Step 5: When adding a new template, select a folder from the “Folder” dropdown. You can also find this field when editing an existing template.

Step 6: From the “SubHub Folders” tab, click the arrow icon to view the templates added to the folder.

Step 7: From inside the folder, you can add new templates or manage the existing ones.

Note 1: To download a previously signed contract’s completion certificate, go to the e-sign activity section and click the completion certificate download button.

Note 2: When a recipient begins the document signing process, they will be able to track their progress with a bar that shows the percentage completed at the top of the page.

Note 3: SubHub sign includes notifications for pending unsigned documents. If a recipient does not sign their contract, they will be reminded periodically via email.

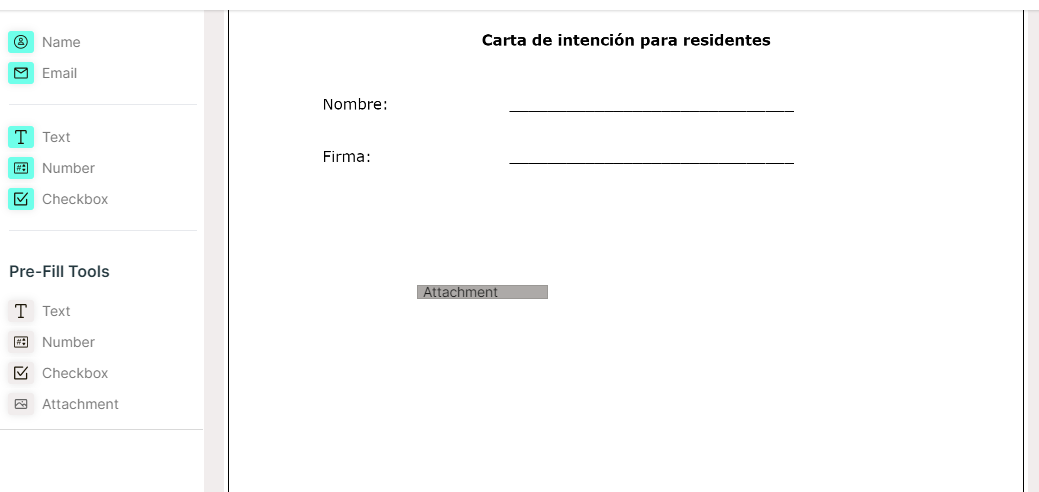
How to Add an Attachment Section to Your SubHub Sign Contracts?
SubHub Sign now allows users to add an attachment section to their contracts, enabling the upload of design and irradiance images. You can find the "Attachment" option on the left side of the screen when mapping various options to your contract.
Step 1: Drag the "Attachment" option onto your contract page where it needs to be added.
Step 2: Adjust the attachment section size by dragging its corners.
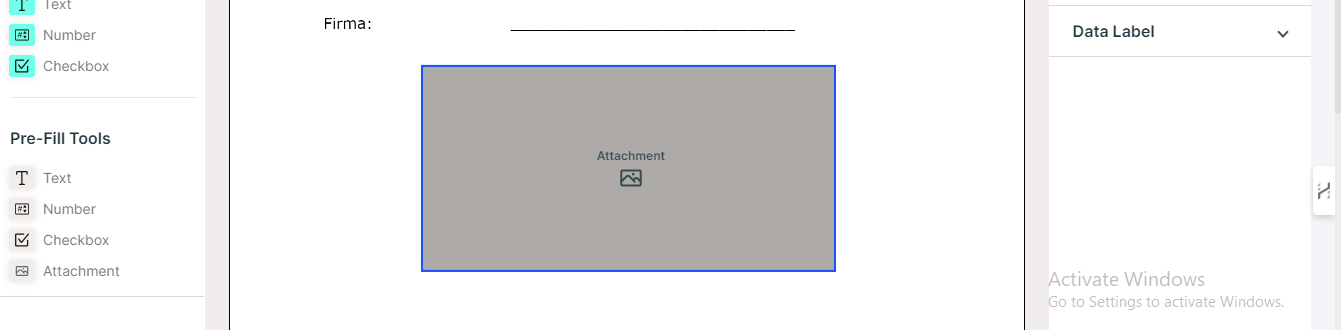
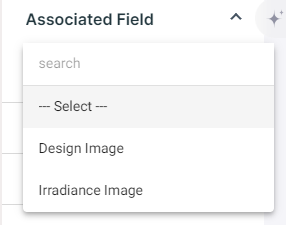
Step 3: Select the attachment section and click on the "Associated Field" option on the right.
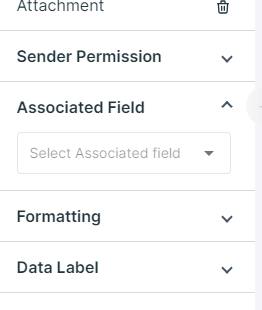
Step 4: Choose the type of attachment: "Design" or "Irradiance".
Step 5: Click "Save".
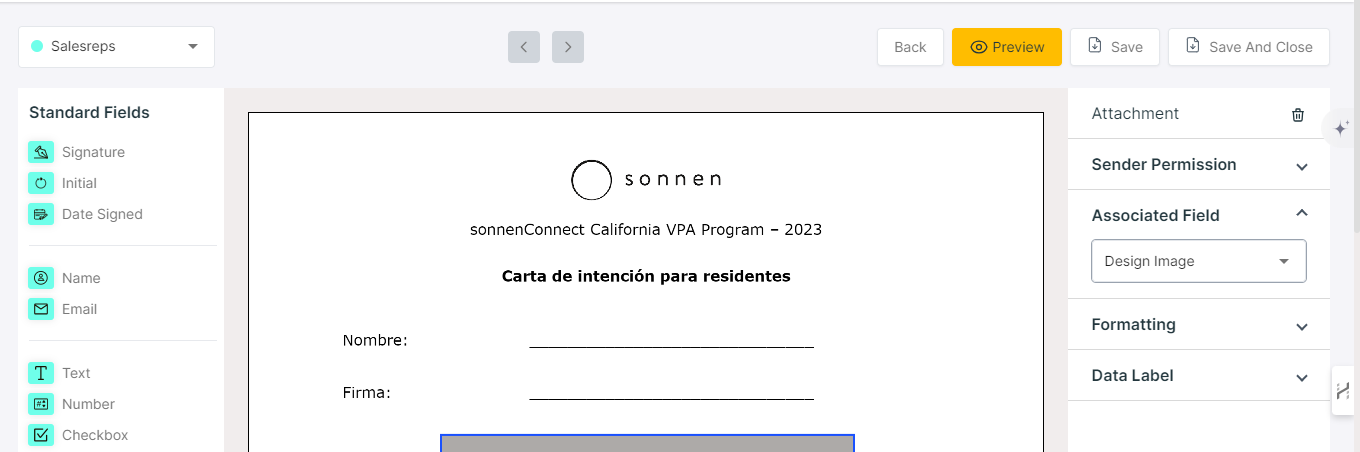
Note: The contract will represent the attachment as shown in the image below.
How To Replace Documents In SubHub Sign Templates?
Follow the steps below to replace the document added to a SubHub Sign Template. The mapped fields will remain as they were when the template was first added.
Step 1: From the main menu, click “Document Manager” and then select “SubHub Templates”.
Step 2: Locate the template you want to update and click the eye icon to view the template’s details.

Step 3: Click “Edit”.

Step 4: Scroll down to the PDF section and click the document replacement icon.

Step 5: Select the document you want to replace the existing document with, then click “Open”.
