How to Update Panel Selection
Maintaining an updated solar panel list in SubcontractorHub is crucial for creating accurate proposals and projects with up-to-date product information. This guide covers how to add panels from the master database, request new ones, and configure key settings like state availability and finance partner access.
Step 1: Go to "Manage Database" and click “Database” tab on the left-hand side.

Step 2: Click on the “Solar System” tab.

Step 3: Click “Panels”.

Step 4: Click on “+ Add” in the top right corner.

Step 5: There are two options here. You can either select solar panels from the master database or request a completely new panel by clicking on the “Request Panel” button. To add master panels, click the “Master” dropdown.
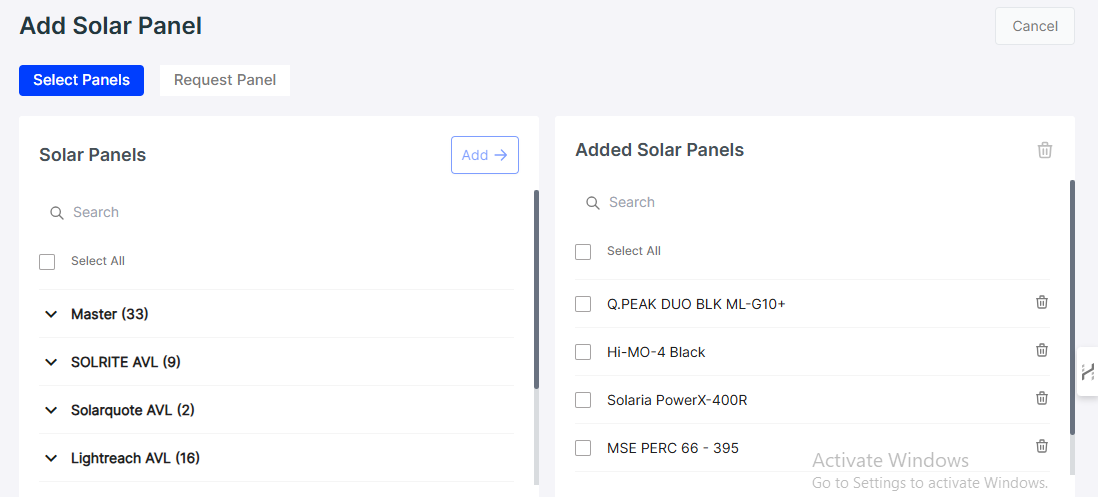
Step 6: Check the checkboxes of the panels you want to add to your solar panel selection, then click “Add”.

Step 7: Click “Yes” to continue.

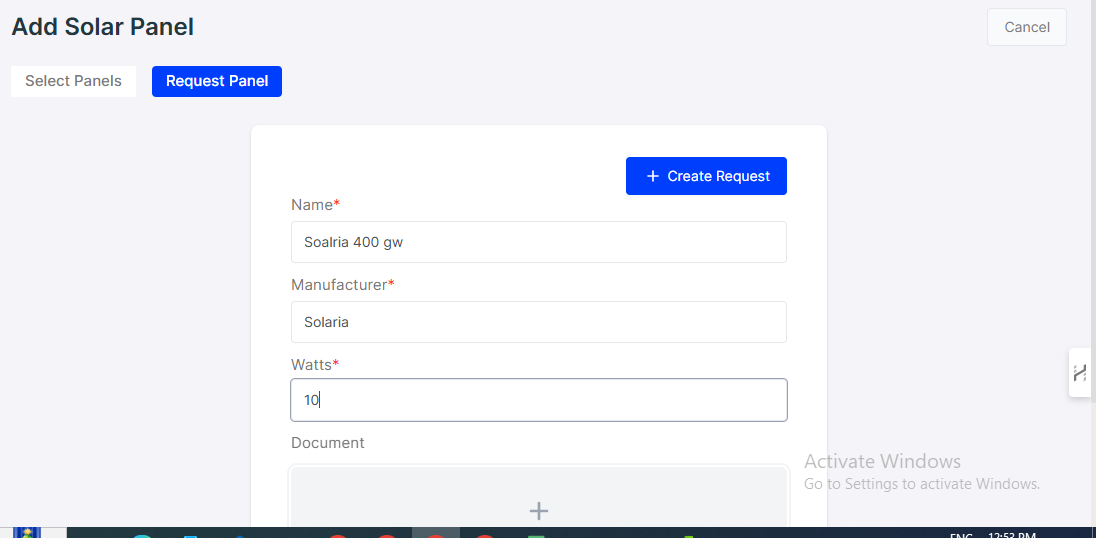
Step 8: Alternatively, open the “Request Panel” tab. Input the solar panel details and click “Create Request”.
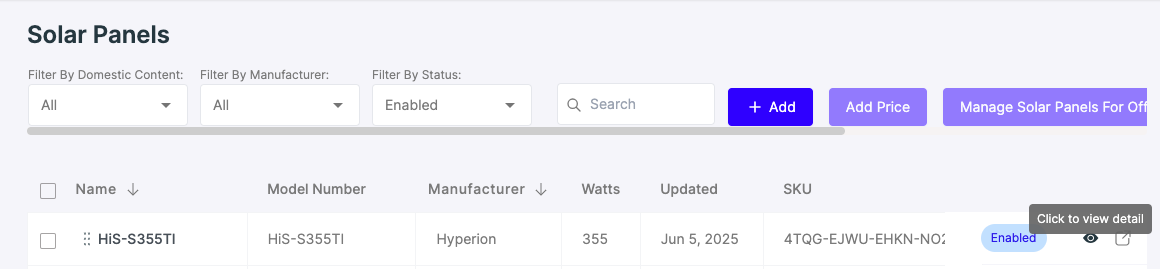
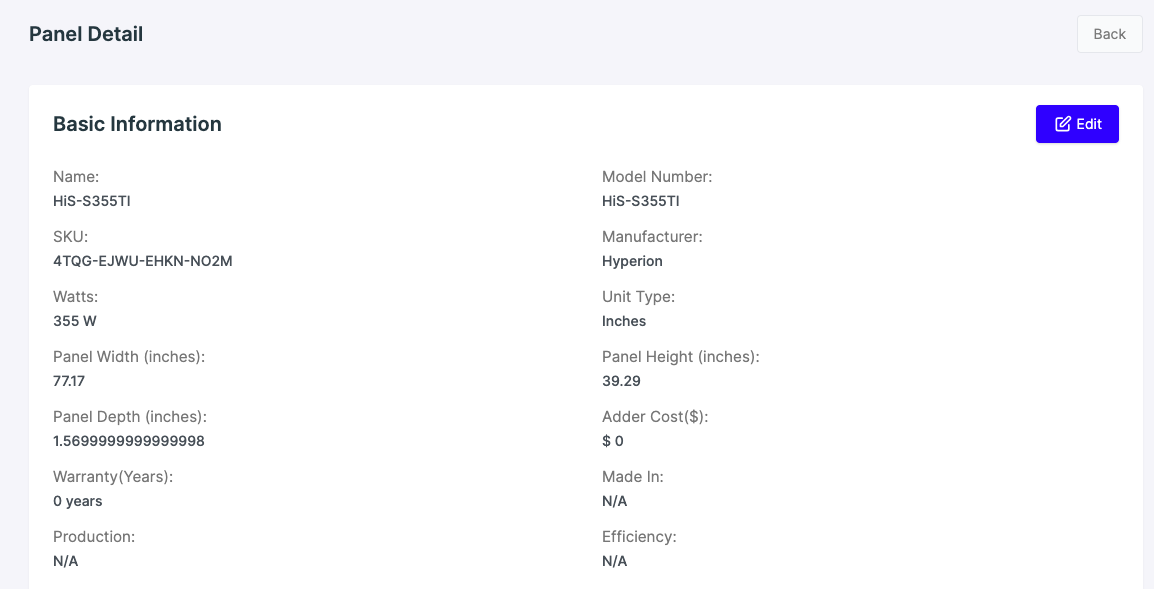
Step 9: The solar panel can be viewed from the “Panels” section of the Database.

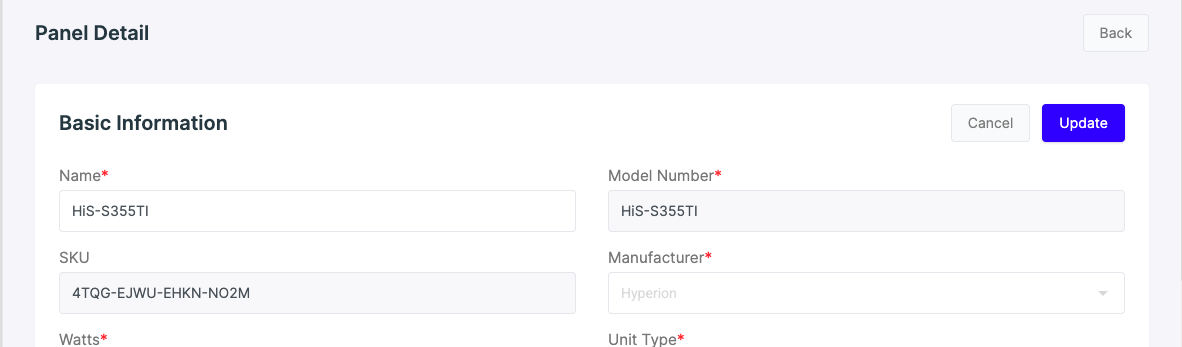
Step 10: Click on the eye icon to edit the solar panel’s details.

Note: To enable the panel for a specific finance partner, make sure you select the desired finance partner for the panel. If no matching finance partner is assigned, the panel will work for all finance partners.
To enable panel financing for select finance partners, follow the below steps:
Step 1: Click “View Details” on the specific panel.
Step 2: Click “Edit”.
Step 3: Scroll down to “Finance Partner” and select the desired finance partners from the dropdown.
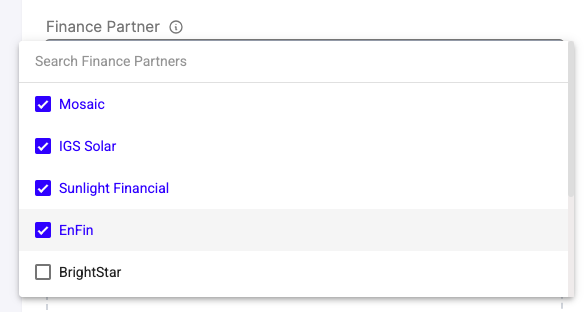
Step 4: Click “Update”.