SOLRITE - Sales Walkthrough
Note: SOLRITE financing is exclusively available for SOLRITE-approved counties and utilities, ensuring that the financing solutions are provided where they can be most effective for your customers.
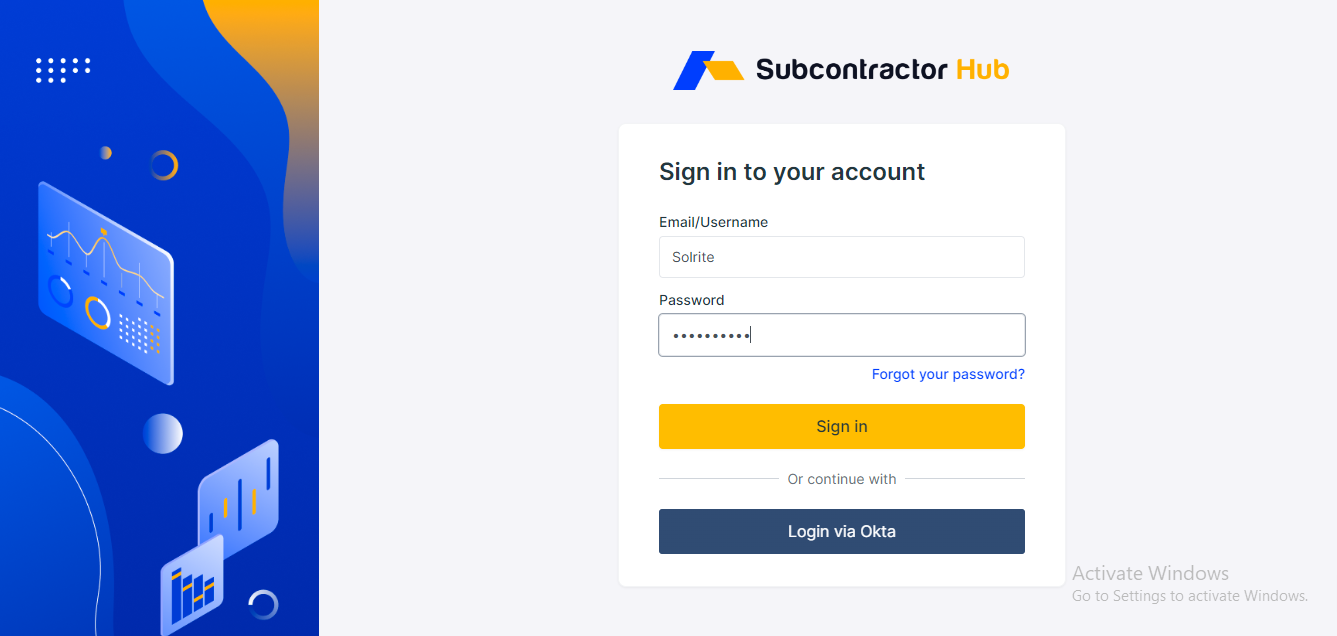
Step 1: Sign in with your username and password.
Step 2: To create a new lead, click "New Customer" in the top right-hand corner.

Step 3: Start by entering the customer's pertinent information. If you are selling in
Puerto Rico, click the "Manual Address" box and manually enter the client's address.

Step 4: Click "Assign to" to attach the lead to the correct closer.
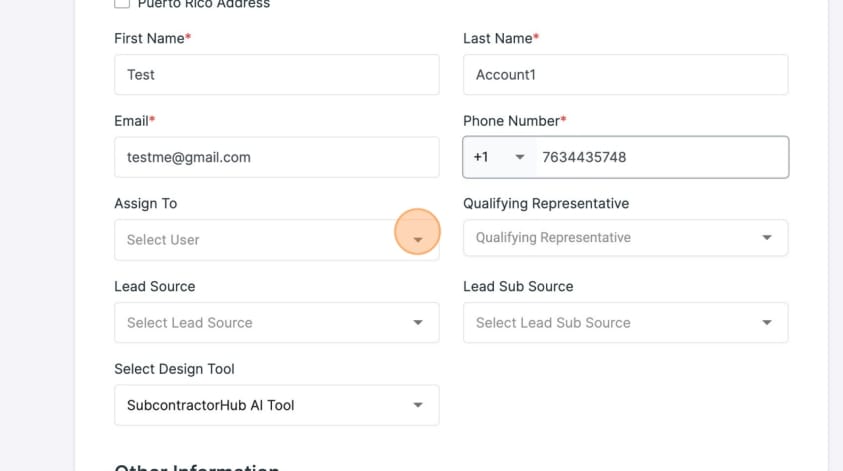
Step 5: Click "Create customer" to move to the next step.

Step 6: You have now created a proposal card. Click "View Detail" to begin generating a design and pricing.

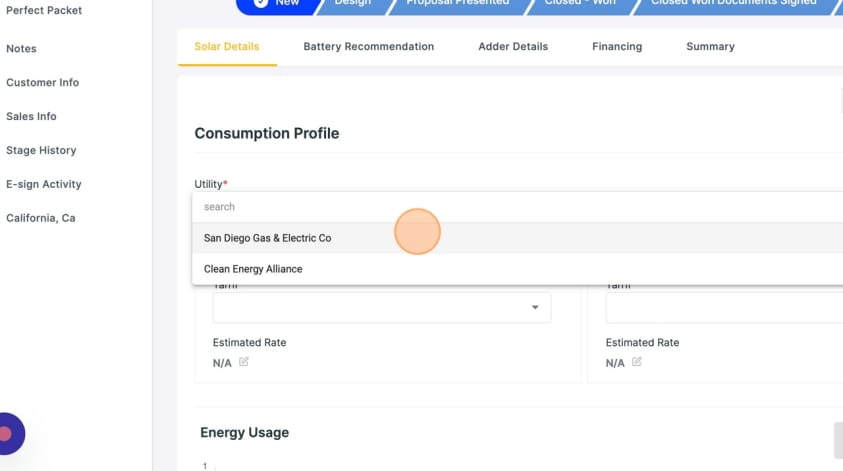
Step 7: You’ll be directed to the consumption profile page

Step 8: Select the correct utility company. All of the data for that utility is being pulled in real-time to ensure accurate utility rates.
Step 9: Scroll down to enter the client's KWh usage. You can opt to either enter the monthly or annual usage by switching the toggle. The predictive AI will also generate an assumed consumption amount based on the address entered.
Likewise, if you only have a few months of usage the software will attempt to auto-fill the rest of the month's data.

Step 10: Click "Start Design".

Step 11: You can also upload the Utility Bill by selecting “Attachments” in the list on the left and clicking on the “Add File” button in the top right corner.
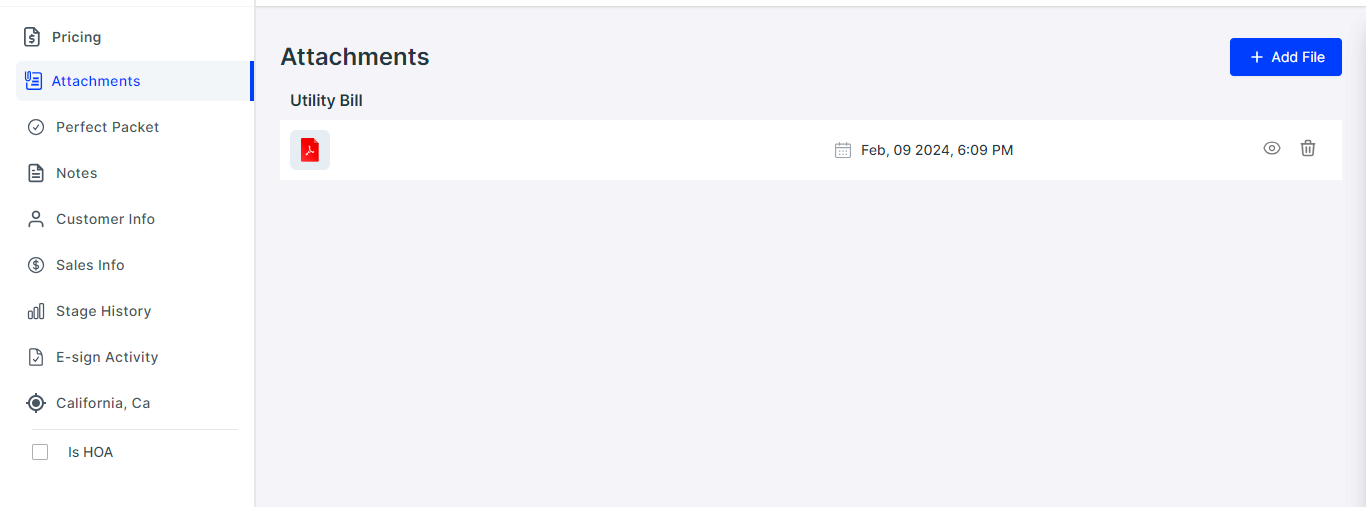
Step 12: Select "Utility Bill" from the "Label" drop-down menu and upload the Utility bill. Click "Save”. Select "Pricing" to return to your AI-Assisted Design.

Step 13: Most homes will be able to utilize the AI-Assisted design tool. Identify the correct home, align it with the tool’s crosshair and click "Run AI Design". If you are working in a market where the AI-Assisted tool does not function seamlessly, you can toggle to "manual design" mode. Reference the "Switch from AI-Assisted Design to Manual" guide for detailed instructions.

Step 14: Click on the modules that you want to include in the design. You will notice the
system size, offset, and production all change in real-time.
Update electric bill pricing and annual usage to suit your customers' needs.
You can select the type of panel that goes into the system alongside the design

Step 15: Click “Save”.

Step 16: Your AI-Assisted Design is ready with system size details. You can add an inverter and edit escalation, PPW, mounting type and roof type in this section.

Step 17: Scroll down to the battery recommendation section of the proposal. Turn on the battery toggle to add batteries to your proposal.

Step 18: Choose if you would like to quote a backup battery OR a grid-tied battery here.

Step 19: Select the desired battery for the project. Keep in mind, that we require a 1.7X battery-to-solar ratio in CA and a 1.5X battery-to-solar ratio in Puerto Rico. This will ensure the customer has enough battery reservoir to offset "on-peak" and evening consumption.

Step 20: Click "Choose Adders" if you want to include any additional work in your quote, such as an MPU, unique roof type, EV charger, etc. This is not required to progress.
Step 21: Click "Done" when the adders have been selected.
Step 22: You can add the down payment amount before selecting your finance options.

Step 23: Go to the financing section of the proposal and select Financing (Fully Integrated), then click on the “SOLRITE” button.

Step 24: Click “Create Account”.

Step 25: Click "Qualify Homeowner".

Step 26: A title verification pop-up box will appear. You can proceed with the current title or replace it with the suggested title in the box. Then, click "Continue."

Step 27: Enter the customer's birthday, check both acknowledgement boxes, and click "Submit". If you receive a message reading "We were unable to match you with any financing options at this time", the customer has failed credit for both SOLRITE Gold and SOLRITE Silver.

Step 28: Your customer’s credit score will decide whether they are eligible for SOLRITE Gold or SOLRITE Silver. (Gold is the good credit quoting, 650 FICO +. Silver is for customers with FICO scores from 550 to 649).
If your customer qualifies, you will receive a congratulatory pop-up window to confirm the pre-qualification. Click "Close".

Step 29: After pre-qualification, select pricing from the “Escalator Rate” and “Pricing” dropdowns. This will display the kWh rate, monthly payment, and gross PPW options.

Step 30: Click “Create Quote”.

Step 31: When a homeowner qualifies, the icon will transition to blue and read "Qualified". Click "Finalize" to save a quote and to generate a quote summary. It will appear below as you scroll down. You must finalize a quote before you can send out contract documents.

Step 32: Next, click on "Send Contract Documents". This will generate the contract. The contract will be sent to the sales rep first. They will sign their name and click "Finish".
The contract will then be sent to the homeowner's email, where they will be able to sign their portion and click "Finish".
Clicking "Finish" will trigger the homeowner to be sent a Welcome Email from SOLRITE. You will need to navigate to this email to complete the customer creation process.

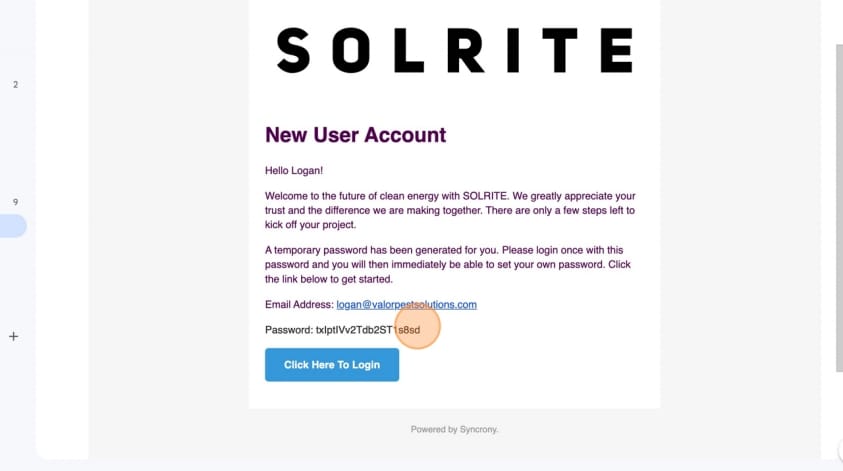
Step 33: When the client receives the Welcome Email, have them highlight and copy a temporary password and select "Click Here To Login".
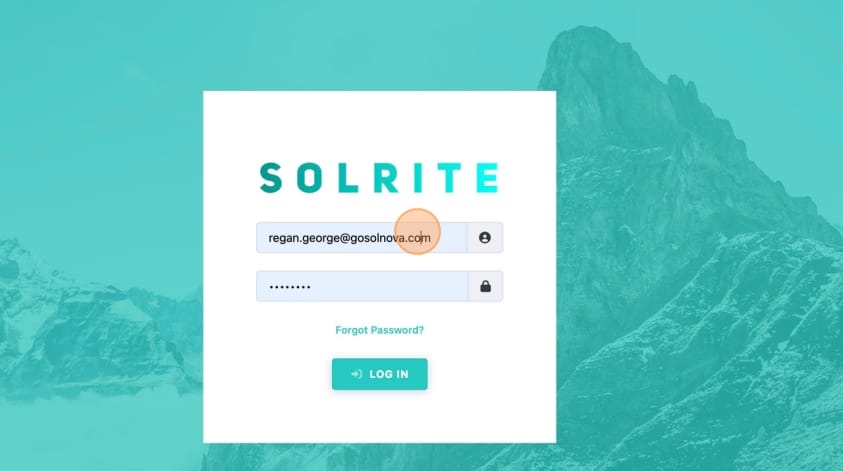
Step 34: Enter the customer's email and temporary password. It will then ask them to
generate their own unique password.
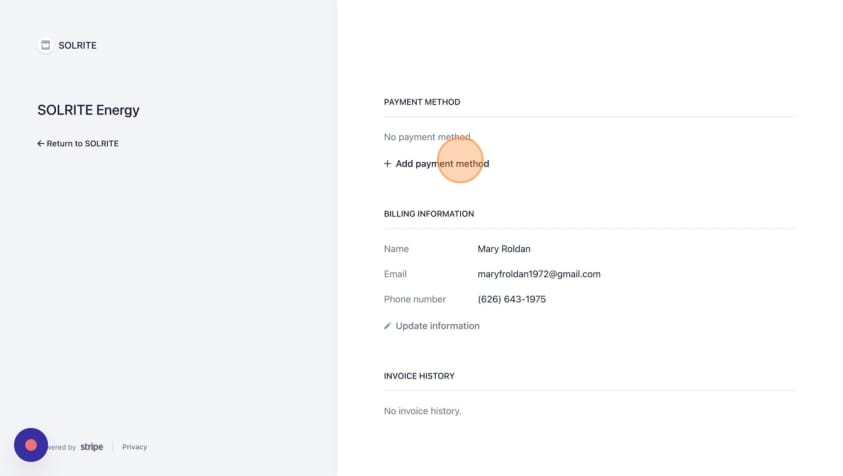
Step 35: Once they have logged in, they will see their dashboard. Scroll to the bottom, and
in the lower right-hand corner, there will be an option that invites to set up their
billing profile. Select it

Step 36: Click "Add payment method".
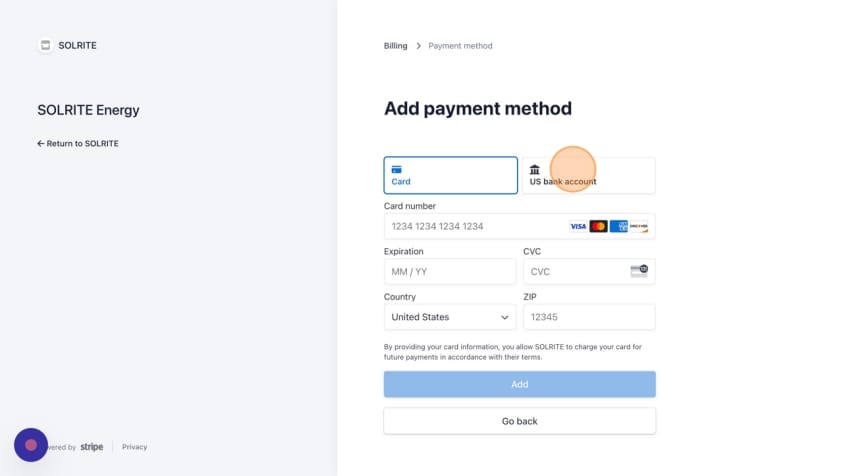
Step 37: Have customers select the US Bank Account option and complete the Stripe setup. If they choose to use a debit or credit card, their monthly payment will increase by $15 per month
Step 38: Complete the Welcome Call with the homeowner, referencing the most updated script and using your device to record the conversation. Ensure to read the questions clearly and to not deviate from the script. Once you have recorded the Welcome Call, send the audio file to your admin so that it can be uploaded to the client financing portal.